


 Career Transition
 Career Gap
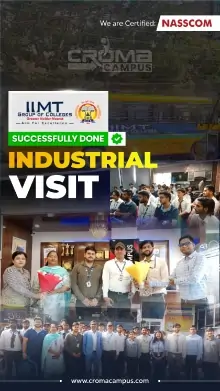
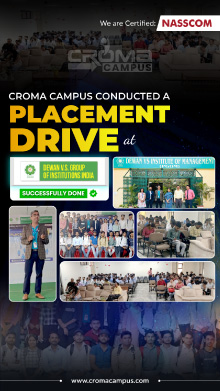
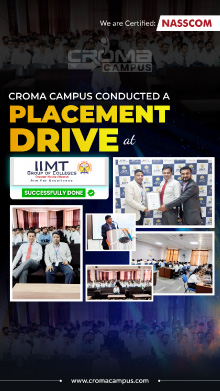
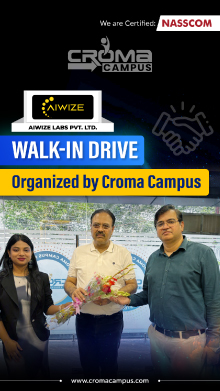
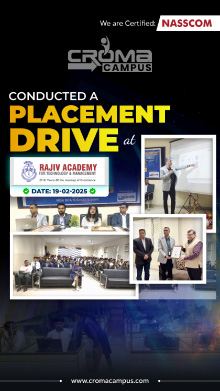
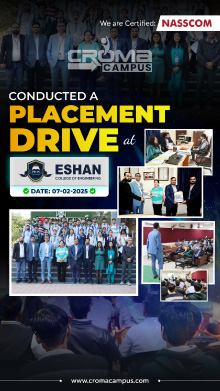
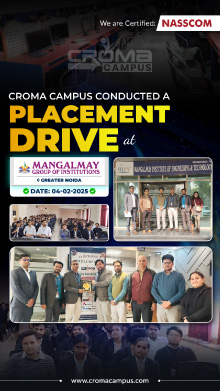
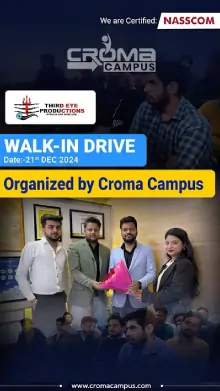
 Placement Activities
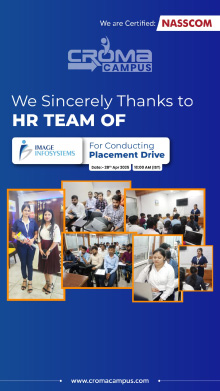
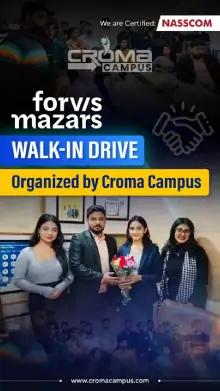
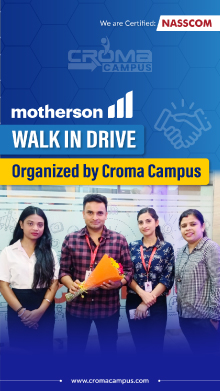
 Placement Drives
 Latest Hiring
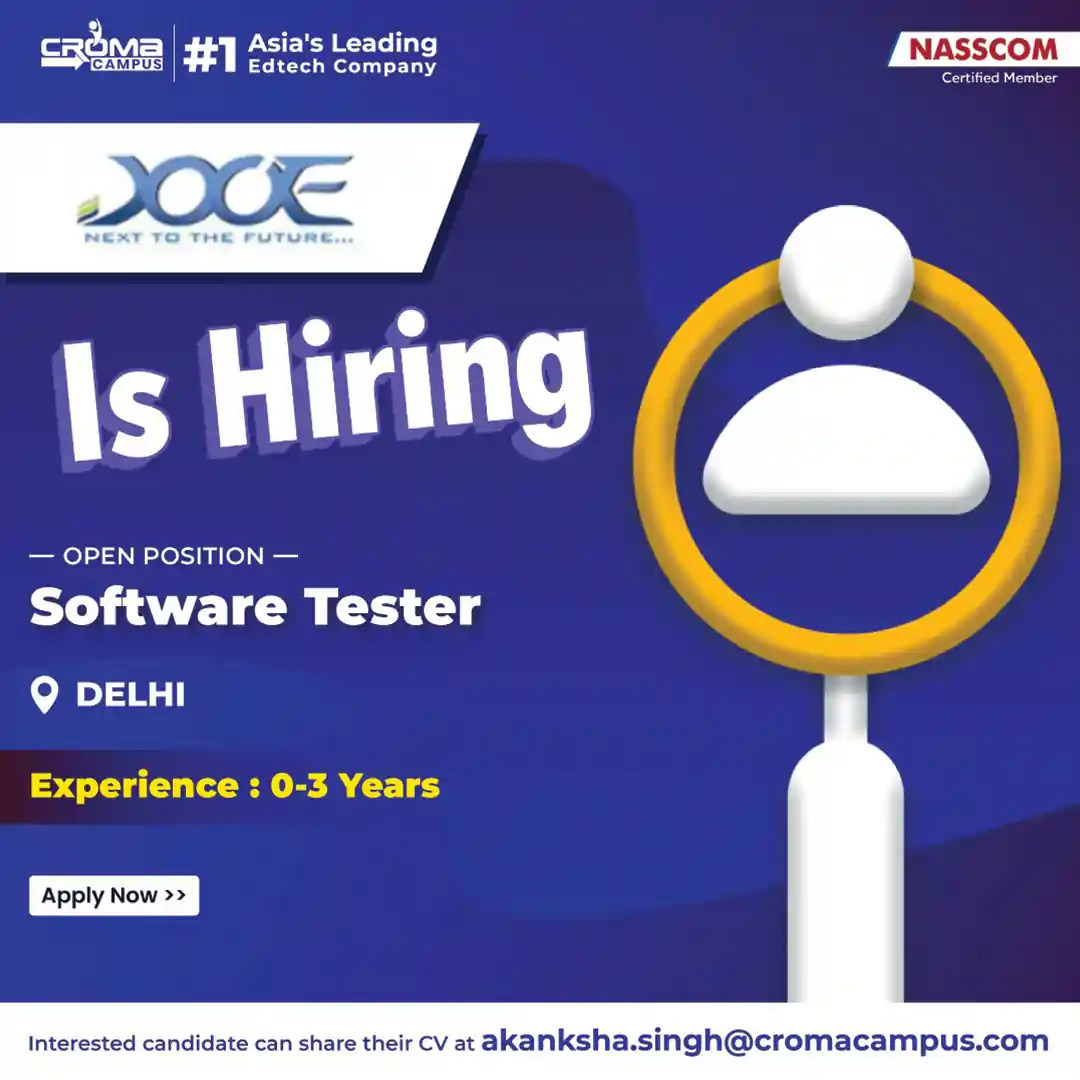
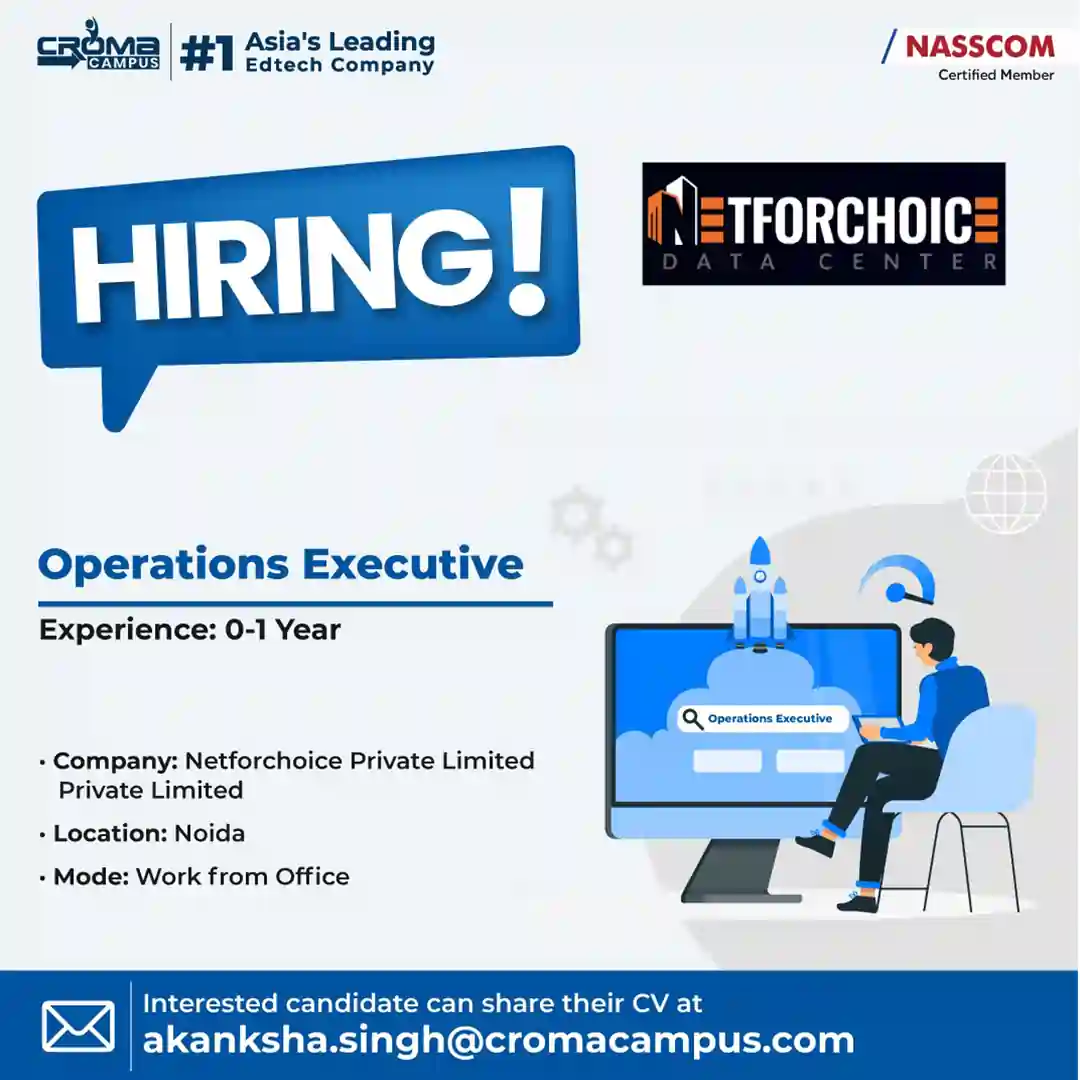
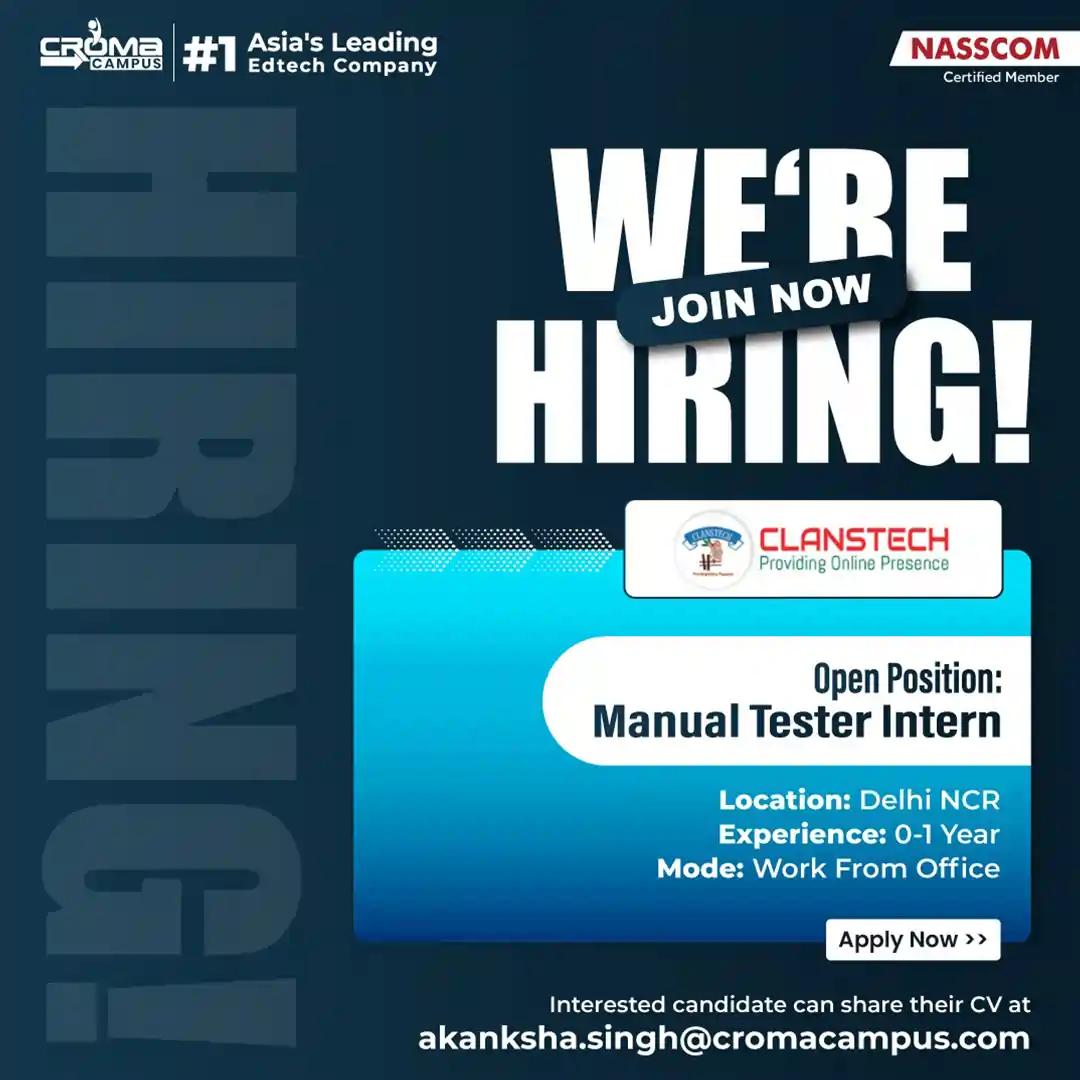
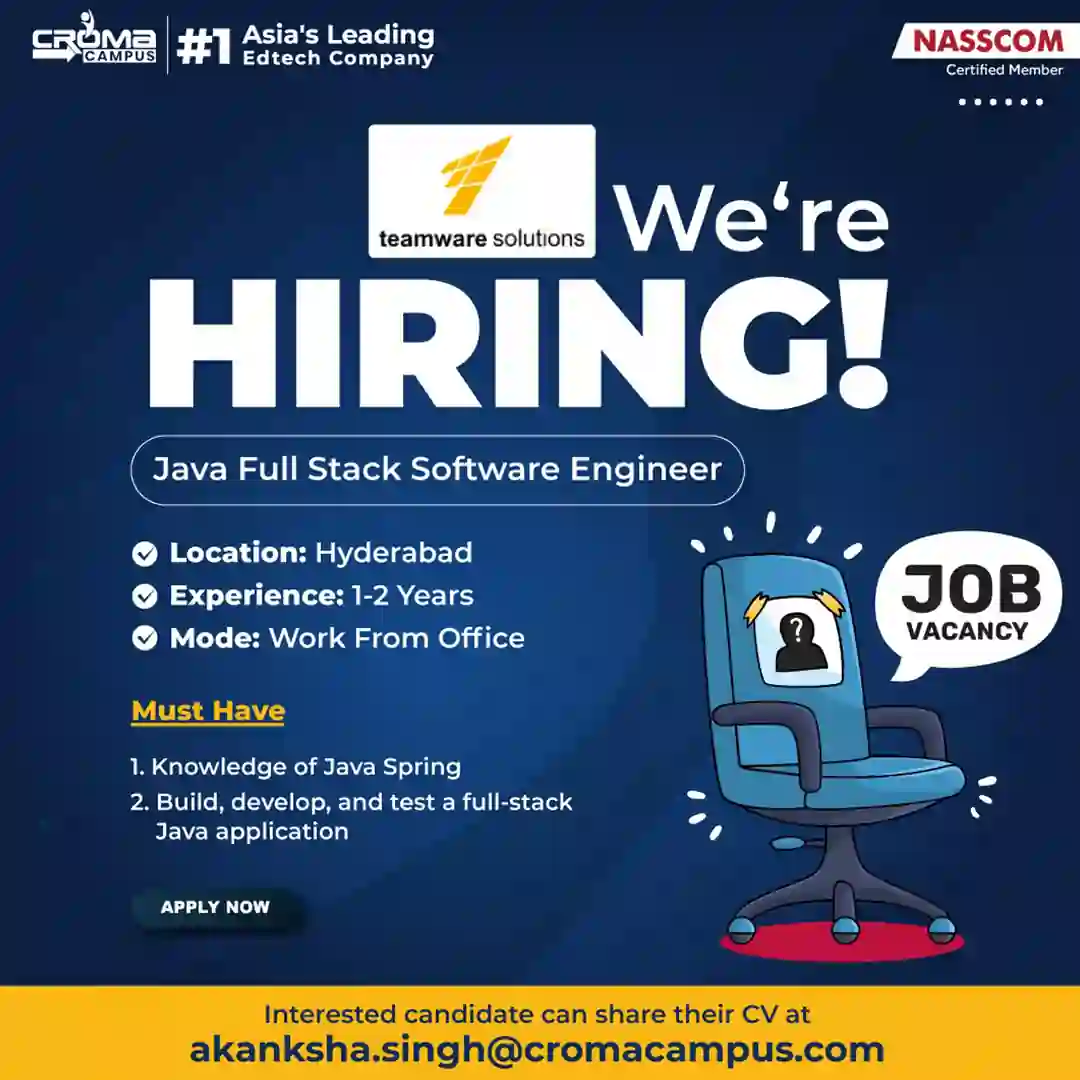


.webp)


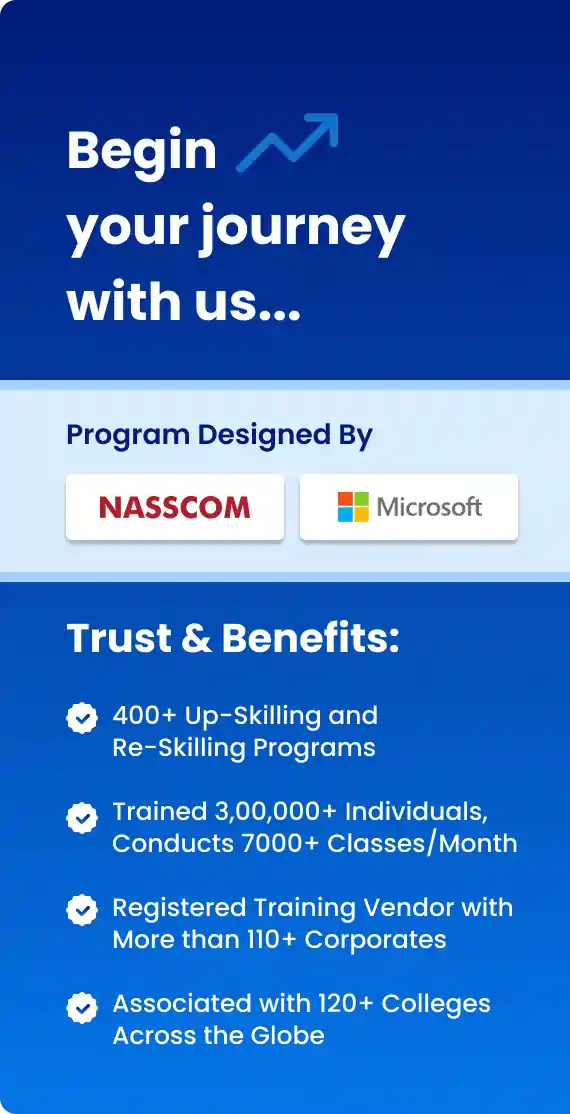
Course Design By
Nasscom & Wipro
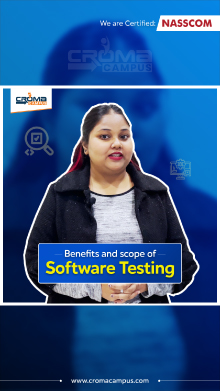
Master the key concepts of UI and UX designing. Enroll today to learn from a skilled UI/UX designer.
In collaboration with

Online/Offline
Format
LMS
Life Time Access
we train you to get hired.


Getting out the certified skillsets to implement in the organization.
Interface to different technologies & designs.
Learning out the usability testing methods.
Handling operations from a corporate perspective.
Designing & developing out on screens.
Companies with hands-on experience in handling different technologies can easily lead the teams of UI-UX design.
The international skills shortage for the global market also getting boom and helps out in landing senior positions throughout the organization.
To getting progress in the UX Career you have to maintain your skillsets and continue to polish them.
Moreover, the UX designers for advanced professionals might mean continuing hands-on work as a UX designer.
UX consultants work with a consultancy company. They work as a freelance consultant for growing their organizational prospects.
A good website design offers out users a type of simple navigation throughout the procedure of handling organizational processes.
UI-UX helps out in segmenting your audience to identify the business needs & desires.
When you invest in web design you get out effective returns throughout the process.
Now, comes with the most important part of the website gets considered our height & other related text.
It’s never too late for changing our careers with evolving of society with exciting features coming up. Moreover, there are many reasons for becoming a UX designer.
The customer-centric mindset with designing multiple tools.
Ability to get out of problems through elegant solutions.
Very keen sense of critical technologies throughout the procedure.
Getting out the present designs according to illustrations.
Monitoring & managing things out to develop systems.
we train you to get hired.
By registering here, I agree to Croma Campus Terms & Conditions and Privacy Policy
+ More Lessons
Course Design By
Nasscom & Wipro
Course Offered By
Croma Campus
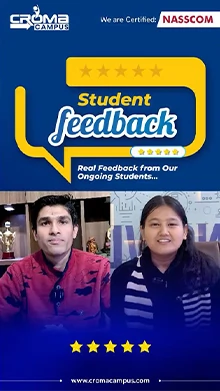
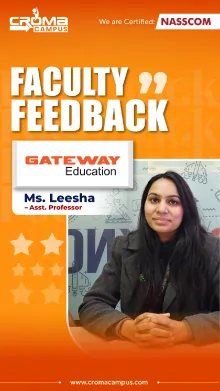
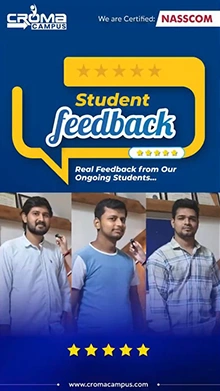
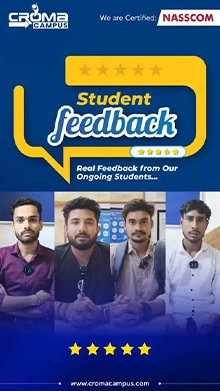
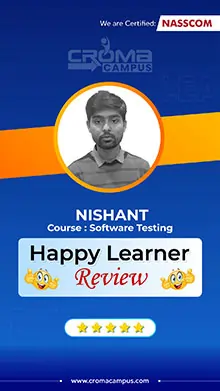
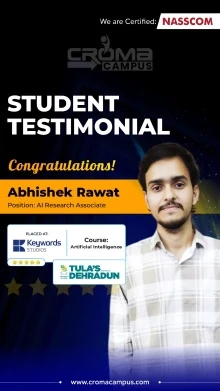
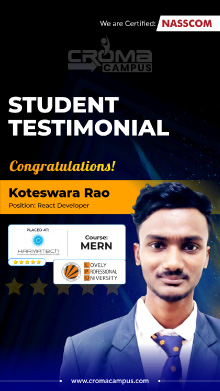
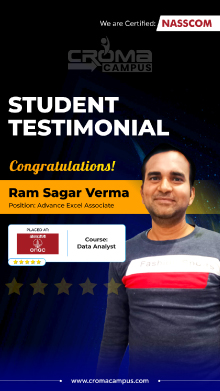
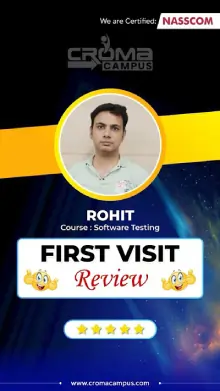
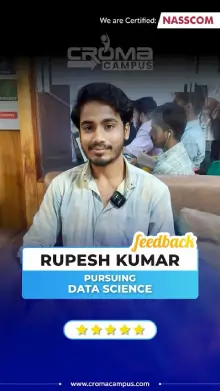
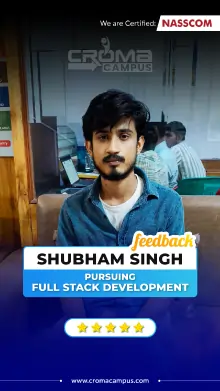
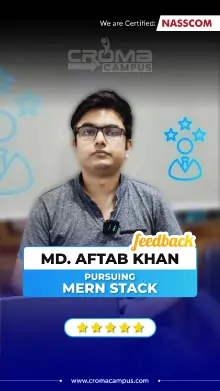
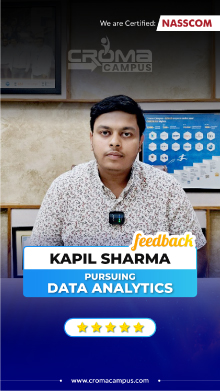
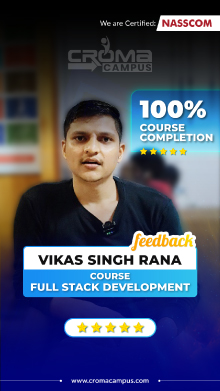
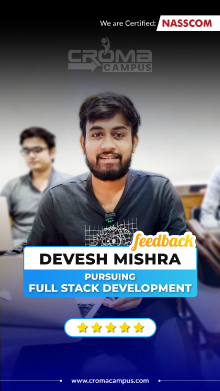
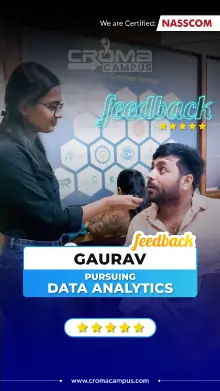
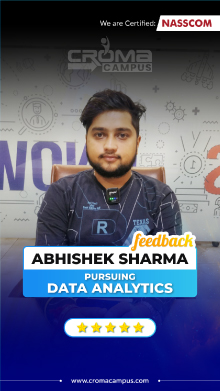
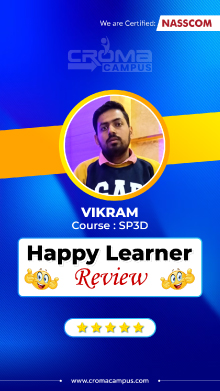
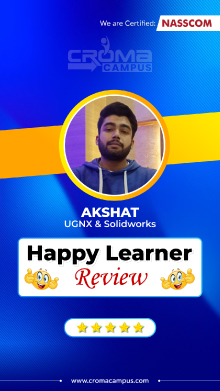
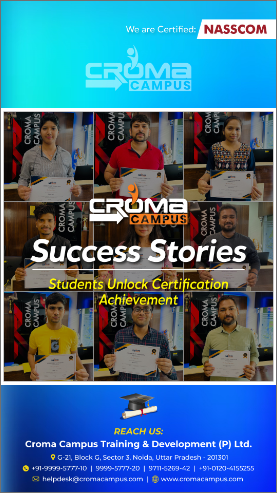
Stories
success
inspiration
career upgrade
career upgrade
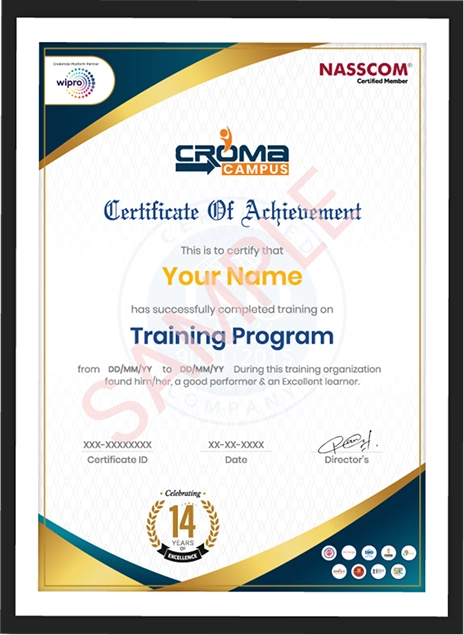
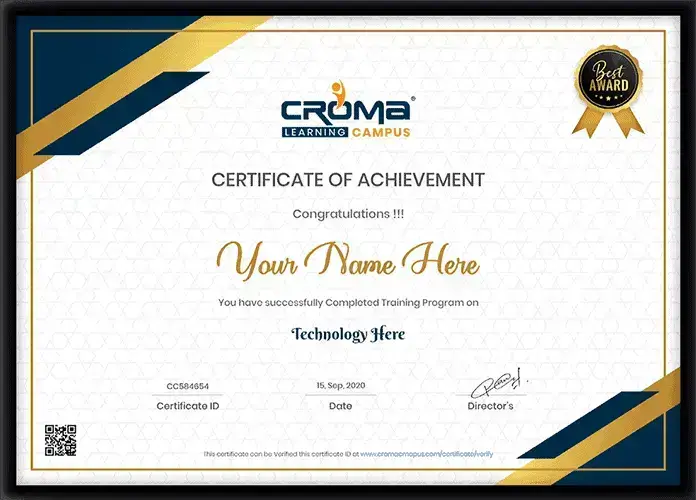
You will get certificate after
completion of program
You will get certificate after
completion of program
You will get certificate after
completion of program
in Collaboration with
Empowering Learning Through Real Experiences and Innovation
we train you to get hired.
Phone (For Voice Call):
+91-971 152 6942WhatsApp (For Call & Chat):
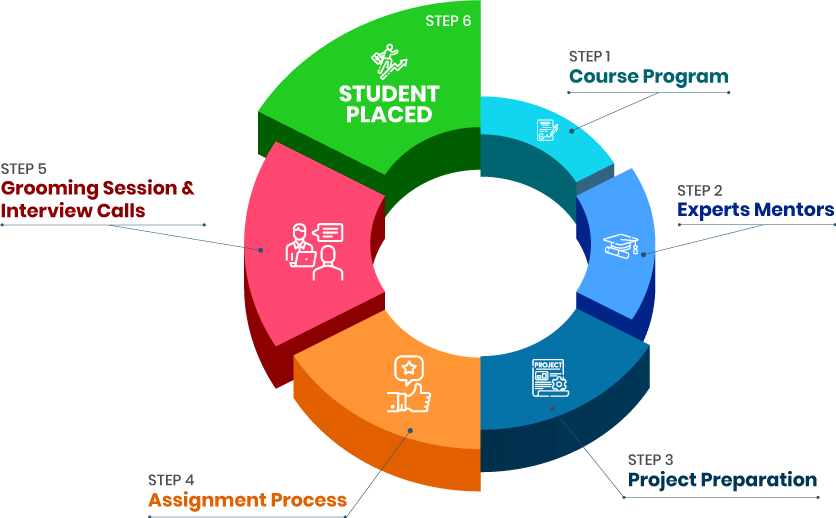
+91-971 152 6942Get a peek through the entire curriculum designed that ensures Placement Guidance
Course Design By
Course Offered By
Ready to streamline Your Process? Submit Your batch request today!

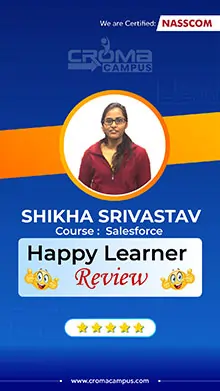
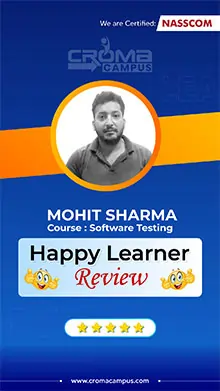
Croma Campus is very nice training center. I learned HTML,CSS,PHP and Frameworke training in Croma Campus. He is very experience and way of teaching is very good. I got the job based on training,It was my great experience from Croma Campus. All the tutors were very knowledgeable and supportive, the Read more...

Got placed in Spark Info systems. Good training Of Vimal Sir and awesome placements of Akansha Mam. Joining Croma Campus was a good decision Read more...

Nice place to learn practical things on Graphics Design. They helped me to gain some tactics and real knowledge about Web Designing . The Environment was good with the Expert trainers. Read more...

Croma Campus is the best place to learn about Node JS. I had a very amazing learning experience with these people. Read more...
By Joining the WordPress training program of Croma Campus you can become a WordPress expert in a short time. My learning experience has been amazing with Amrish sir. Thanks sir for everything. Read more...
Hi. My name is Gaurav Sharma from Noida. After enrolling into the Croma campus, I have lot of good experience in learning. The faculty, interior, proper facilities are available. The classes were held in online mode which gave me the benefit of not stepping out from home. The trainer helped in maki Read more...
Hello. I completed my certification from Croma Campus which provide me with great skills and knowledge. My overall experience was good. All the whole faculty, trainer, and counselor were there to help in completing the course. Read more...
Croma Campus is the best name for offering technical education. If we talk about my UI-UX training then it was a great experience for me. After training completion, I got a lot of calls from various reputed organizations. Read more...
This's really a good initiative to keep the peoples educated in the new technologies and thereby improve their knowledge. This also provides a great opportunity for people to develop their careers. Read more...
The Google UX UI certificate is worth gaining organizational efficiency.
As we know that the skills needed to become a UX designer are much more than the comparative salary.
UX is not going anyway it is just changing our characteristics.

Highest Salary Offered
Average Salary Hike
Placed in MNC’s
Year’s in Training

fast-tracked into managerial careers.
Get inspired by their progress in the
Career Growth Report.
FOR QUERIES, FEEDBACK OR ASSISTANCE
Best of support with us
Share some of your details and we will be in touch with you for demo details, and know about Batches Available with us!
By registering here, I agree to Croma Campus Terms & Conditions and Privacy Policy


For Voice Call
+91-971 152 6942For Whatsapp Call & Chat
+91-9711526942Share some of your details and we will be in touch with you for demo details, and know about Batches Available with us!


.webp)


.webp)
.webp)

.png)


