


 Career Transition
 Career Gap
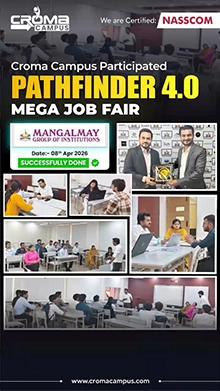
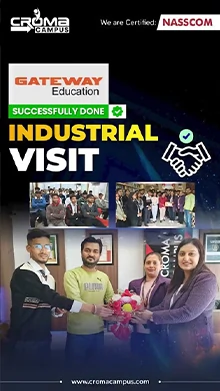
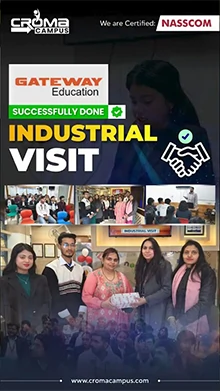
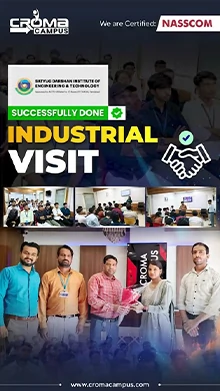
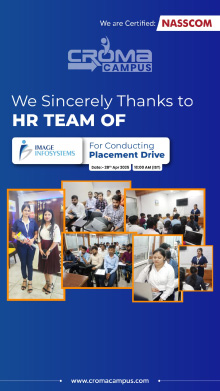
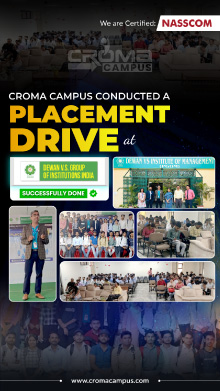
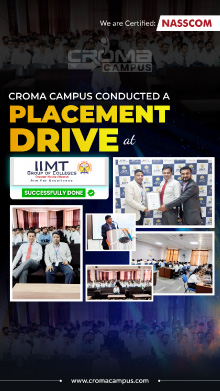
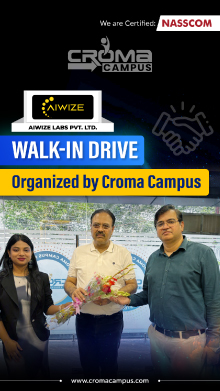
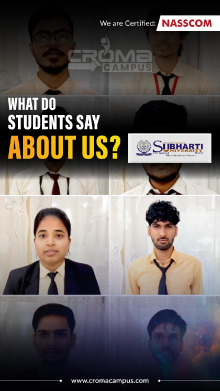
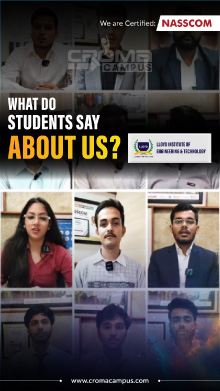
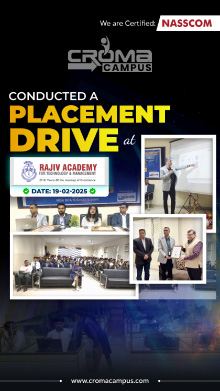
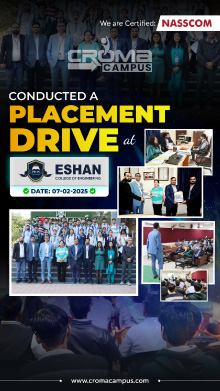
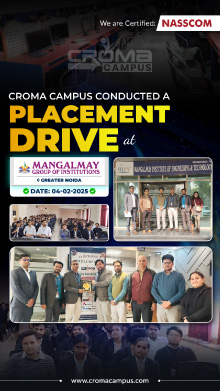
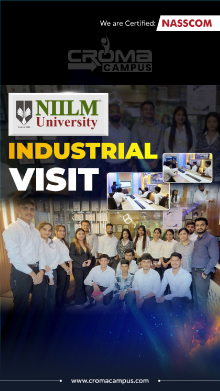
 Placement Activities
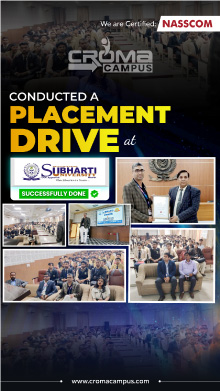
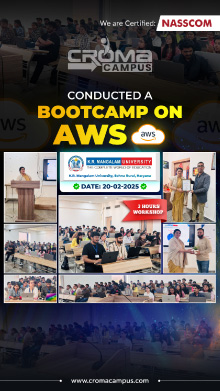
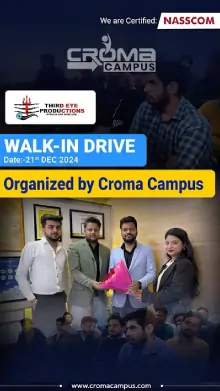
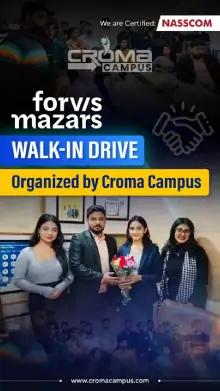
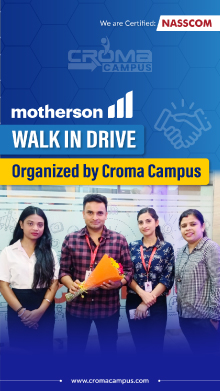
 Placement Drives
 Latest Hiring
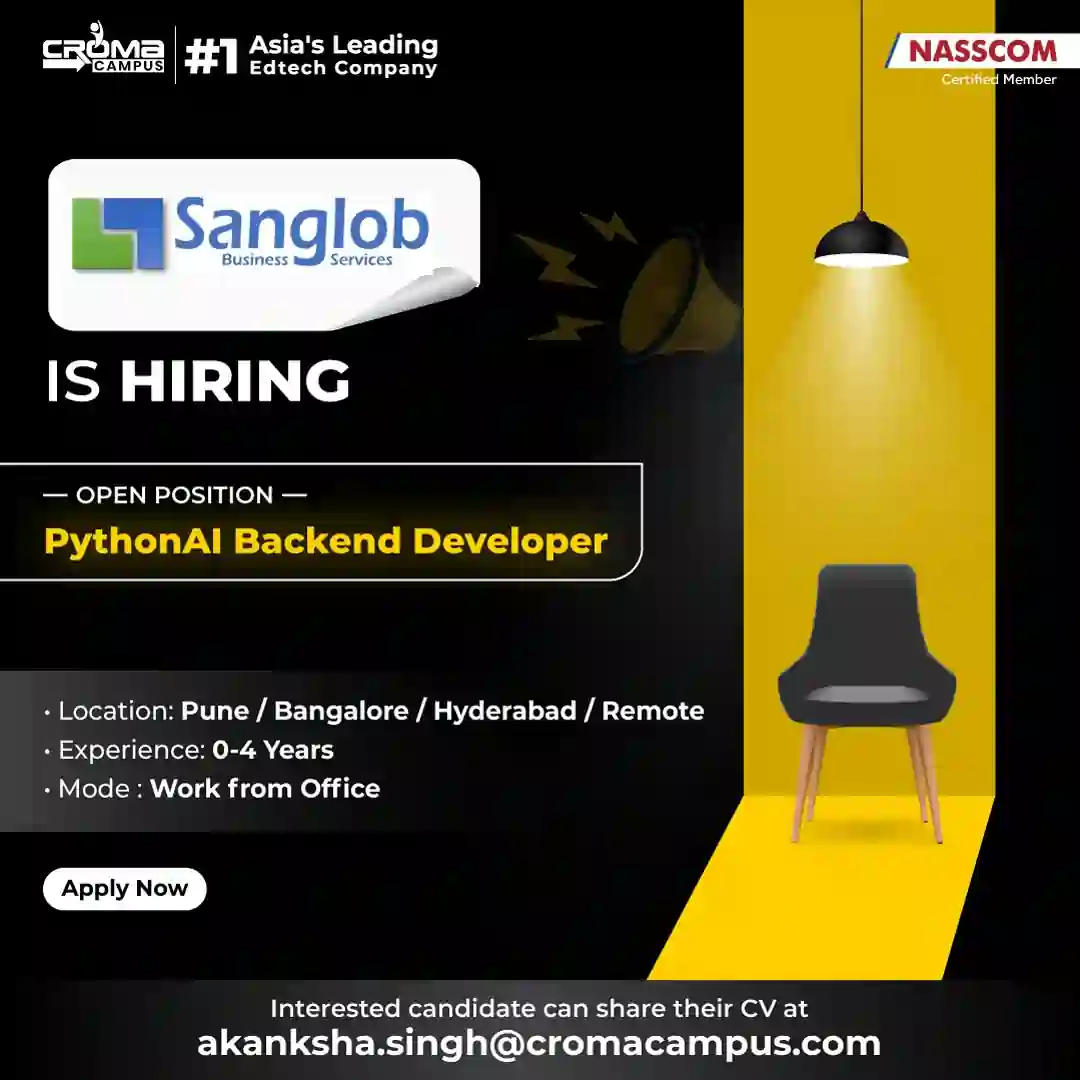
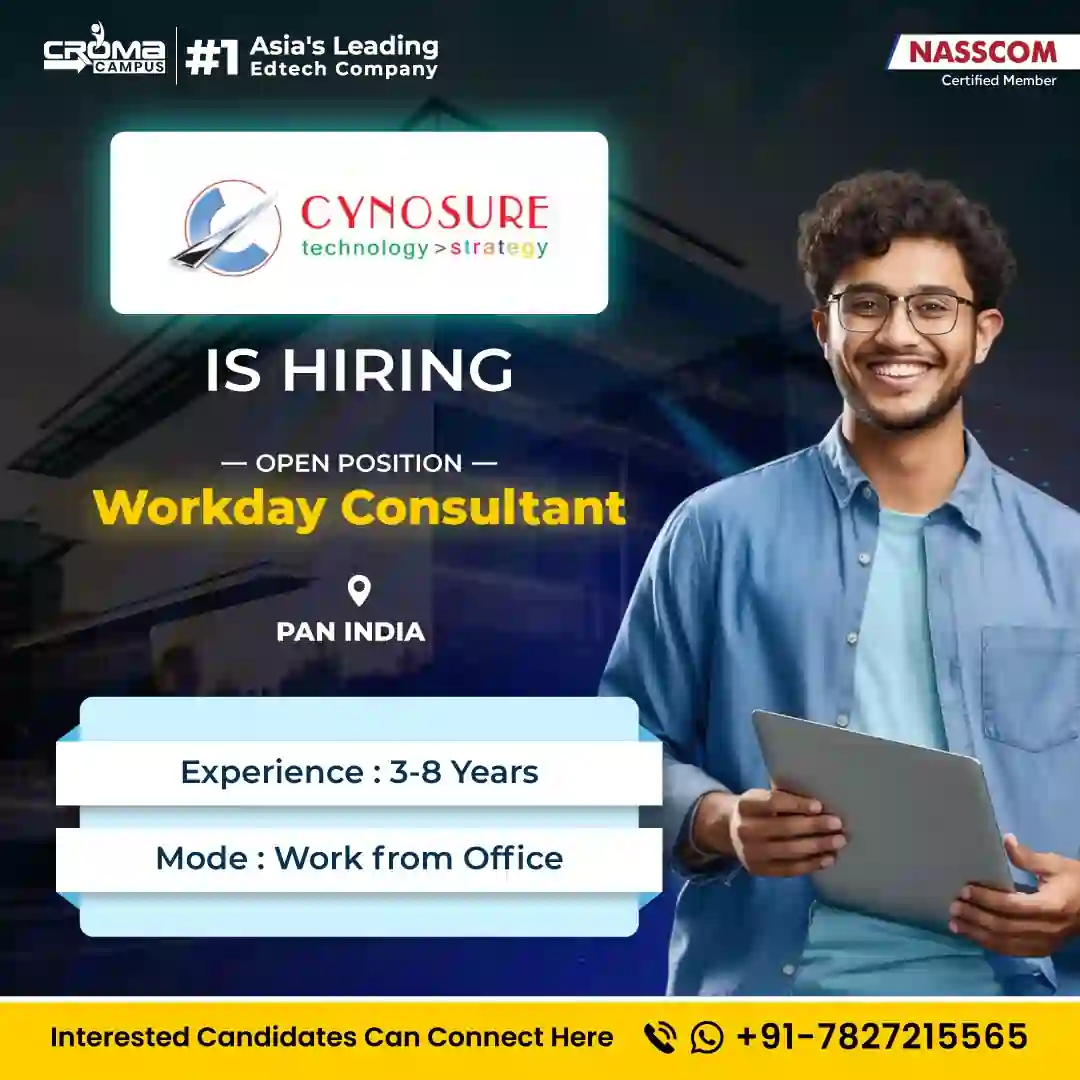
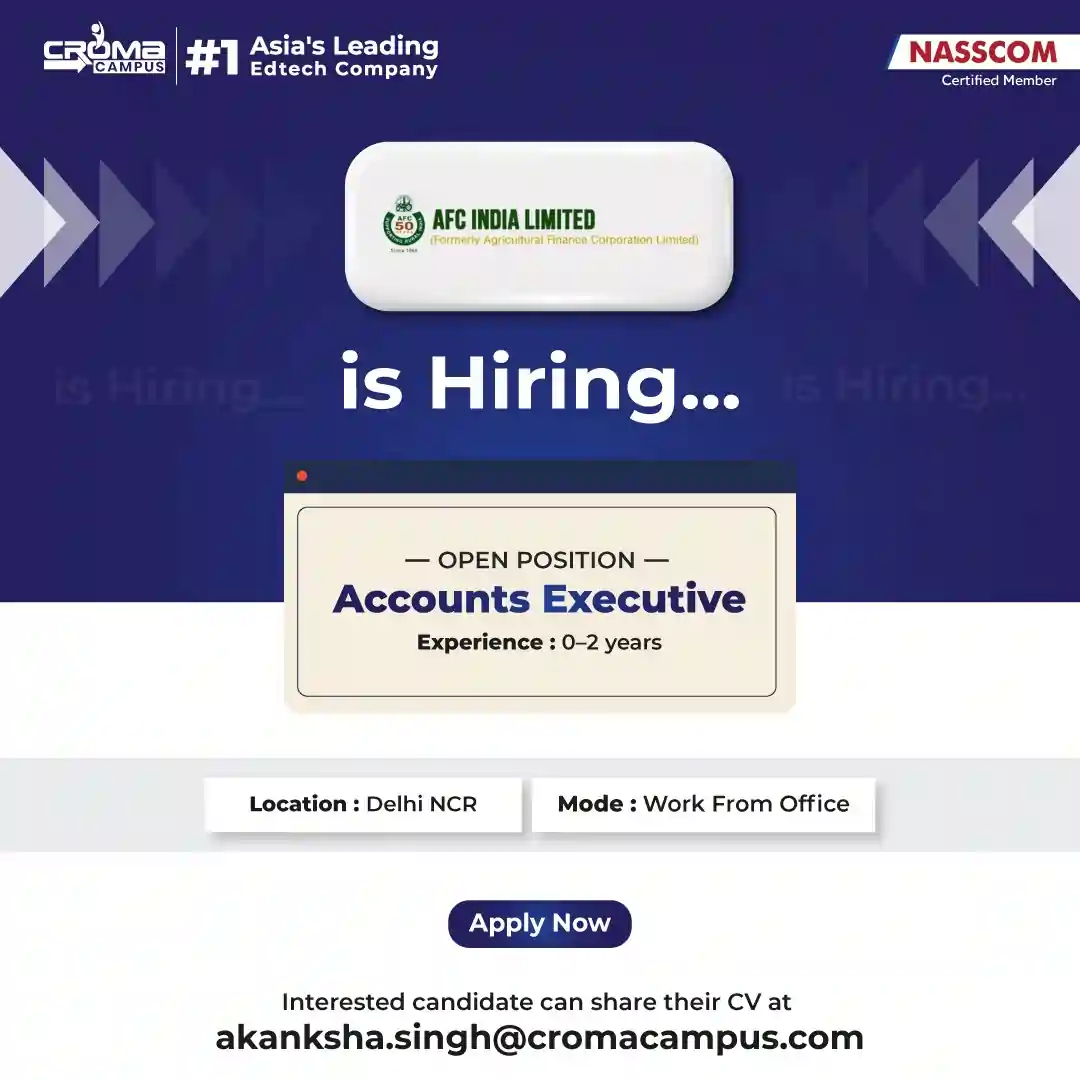
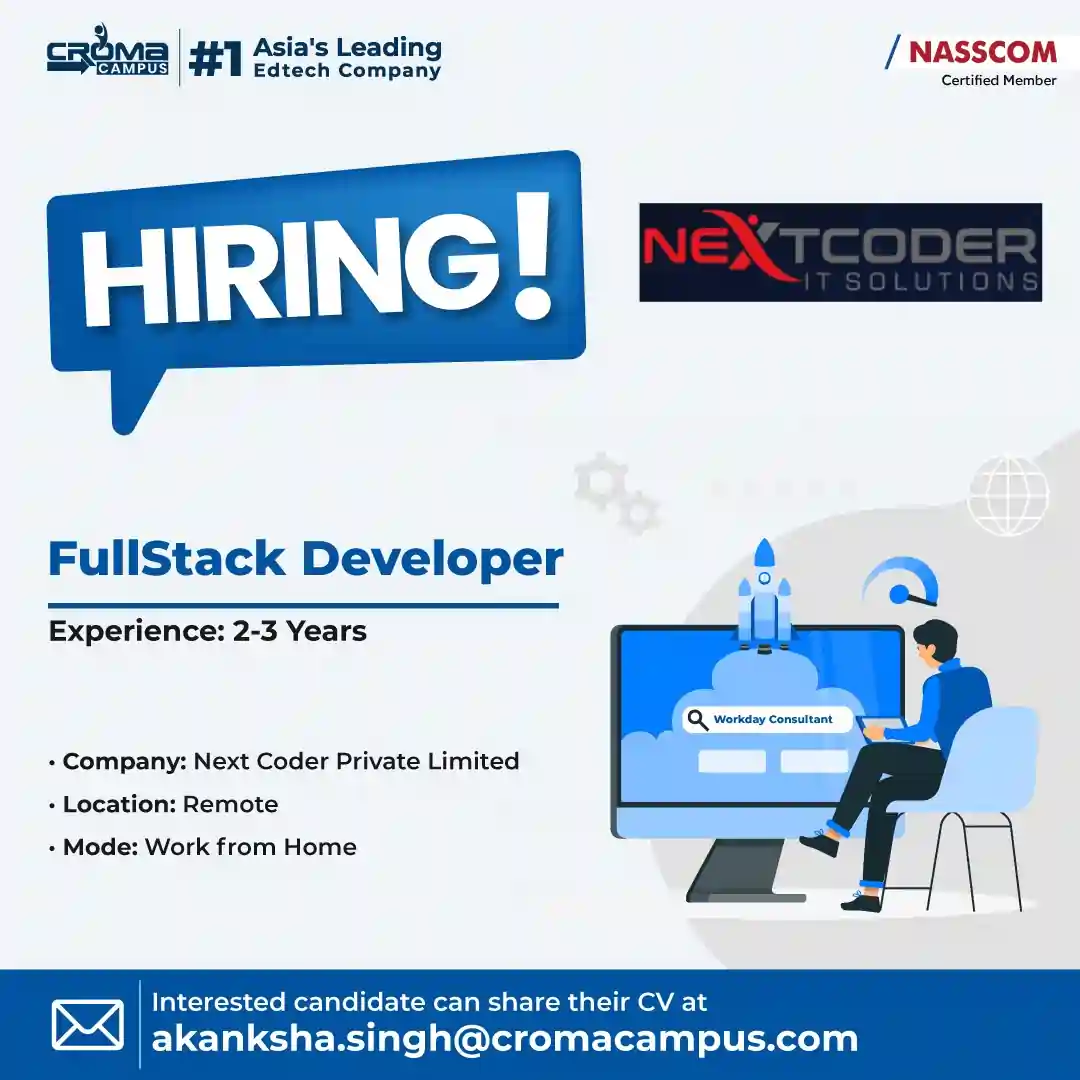
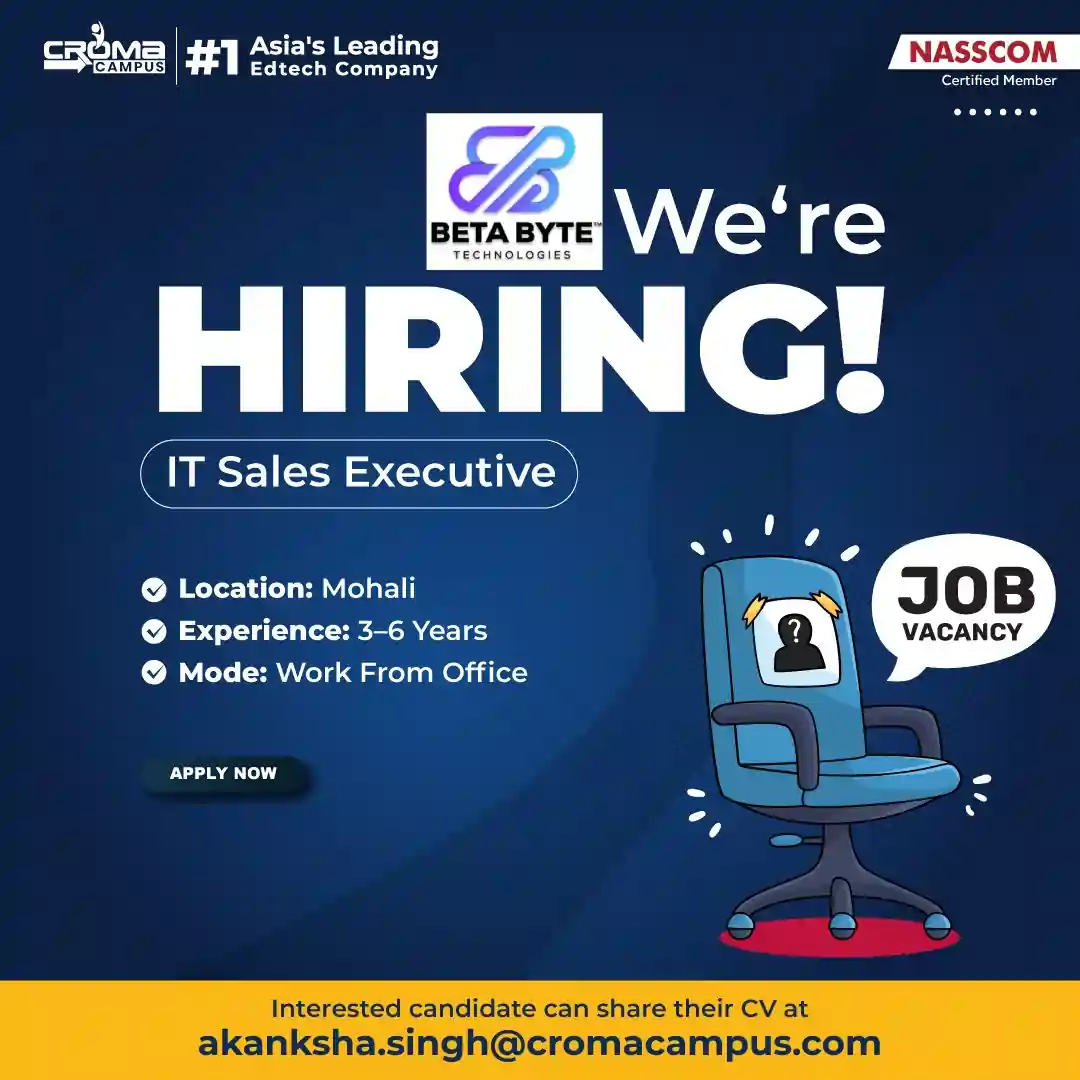
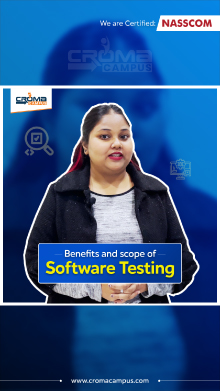
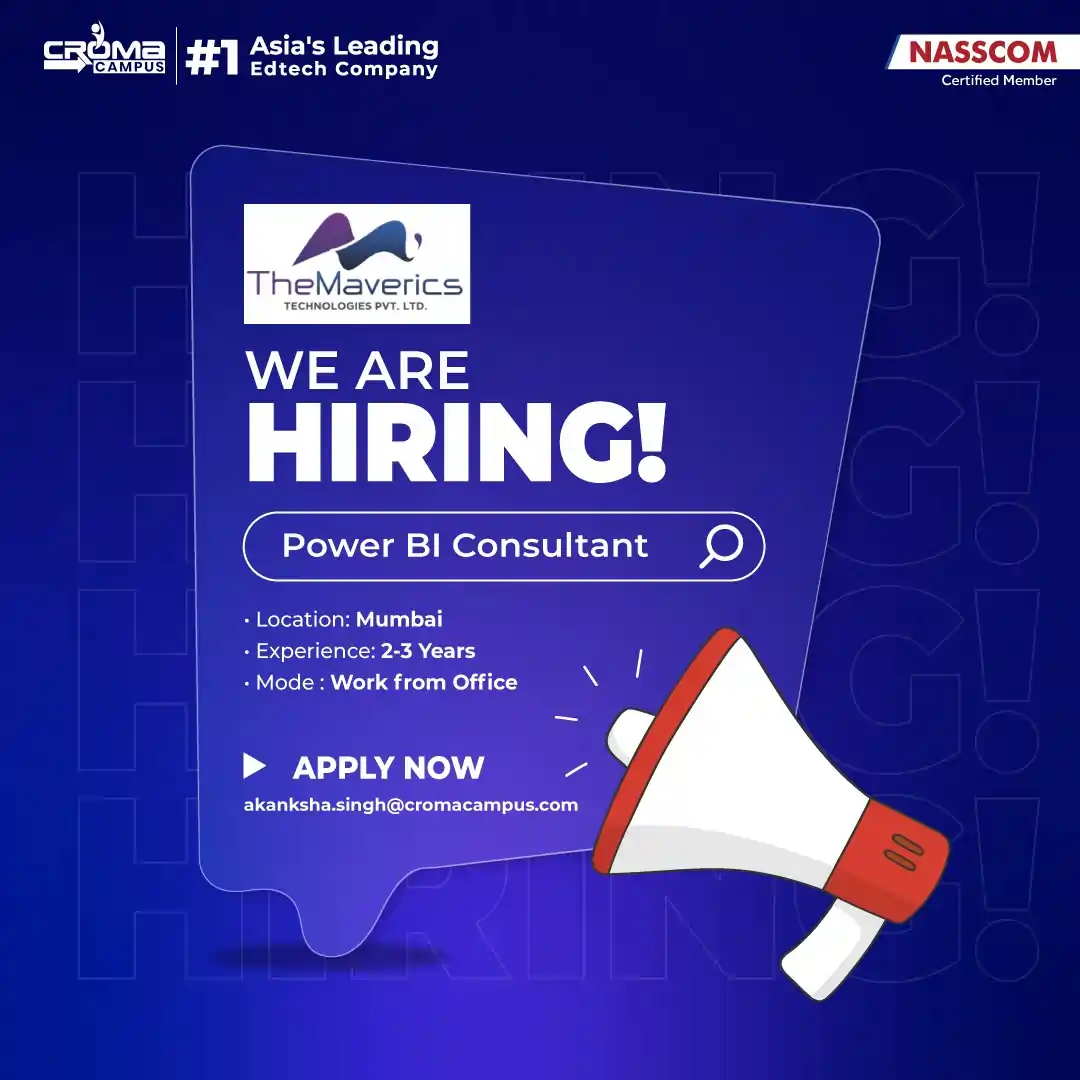


Course Design By
Nasscom & Wipro
Become a skilled Graphics Designer. Join now to learn from a competent industry practitioner.
In collaboration with

Online/Offline
Format
LMS
Life Time Access
we train you to get hired.


You will first come across its fundamentals.
Further, you will learn how to use Adobe Photoshop, Illustrator, and InDesign 3 stages (right from the basic, intermediate, and advanced features).
Later, you will also receive sessions regarding 'introduction to the advertising sector, how to work with stock images and vectors, print-based designing and web-based designing, advanced design controls, working with different file formats, etc.
You will also learn in-depth information concerning Graphics Designing, adobe dimension basics, its advanced design control & functionalities, how to manage different clients, etc.
Our course will eventually help you turn into a knowledgeable Graphics Designer.
A fresher Graphics Designer in India earns around Rs. 2.5 Lakhs annually.
Likewise, on the other hand, experienced ones earn Rs. 6 to 7 Lakhs per year.
By acquiring more work experience, and skills, your salary structure will eventually increase.
You will also be able to make an additional amount by working as a freelance
By obtaining a legit accreditation of Graphic Designing Course in Delhi in hand, you will turn into a skilled and certified Graphics Designer.
You will be able to create innovative visuals utilizing visuals, making attractive videos, etc.
You will somehow play an important role in putting across your organization's agenda in the public domain.
You will be offered a quite decent salary.
You will get the opportunity to know and explore every area of designing.
This field will push you out of your comfort zone and let you expand your skills in the software designing field.
Well, a higher salary structure is yet another reason to opt for this field.
Your job will be an interesting one and will eliminate the monotony.
You will learn new things every day.
Work across different industries.
You might end up becoming a problem solver.
Your job role will indulge you in studying design briefs and determining requirements, scheduling projects, and defining budget constraints, visualizing projects based on requirements, etc.
You will also have to create rough drafts and present your ideologies.
You will also have to build illustrations, logos, and other designs using software or by hand, etc.
You will also have to utilize appropriate colours and layouts for each Graphics.
You will also have accordingly with copywriters and a creative director to produce the final design.
Testing Graphicss via numerous media, implying designs after feedback, and assuring final Graphicss, and layouts will also be counted as your main role.
Studio Nine Constructions, Snaphunt, Stamford India Pvt. Ltd., etc. are some of the well-known companies hiring Graphics Designer.
By getting in touch with a decent Graphics Designing Training Institute in Delhi, you will surely end up getting into these big-sized companies.
Our qualified trainers will also help you in clearing the interview by often organizing a mock test.
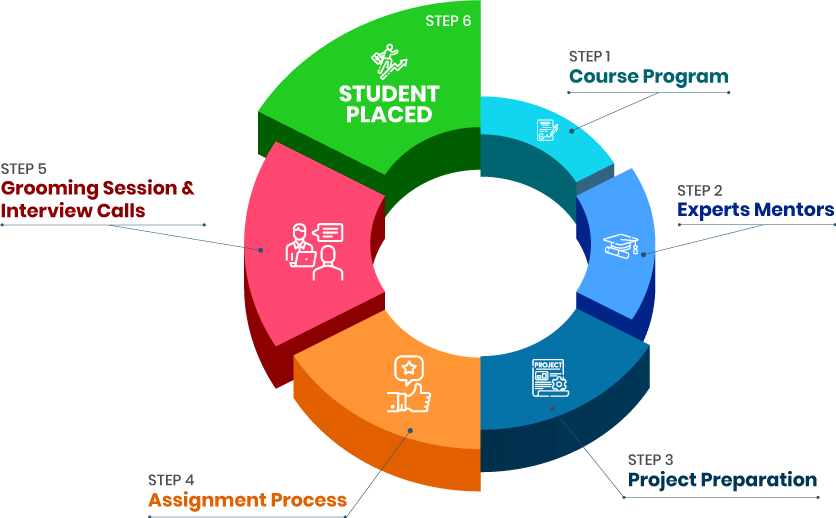
The main motive of the Graphics Designing Training in Delhi is to help you to get placed in a well-established organization.
Here, along with a legit certification in hand, you will also get enough chances to brush up on your existing skills and imbibe new ones regarding Graphics Designing Course in Delhi respectively.
Here, you will obtain information concerning its related course as well.
Croma Campus will offer you placement assistance.
Well, right from the initial level, our trainers will give you suggestive tips to clear the interview process so that you can acquire the benefits from Graphic Designing Course in Delhi progressively.
we train you to get hired.
By registering here, I agree to Croma Campus Terms & Conditions and Privacy Policy
Course Design By
Nasscom & Wipro
Course Offered By
Croma Campus
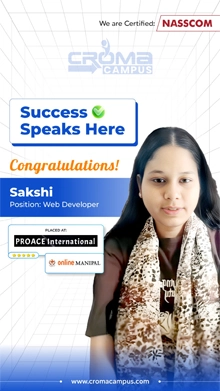
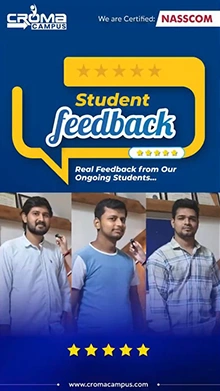
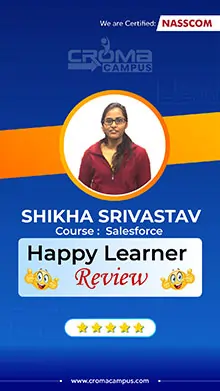
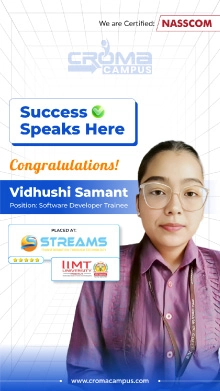
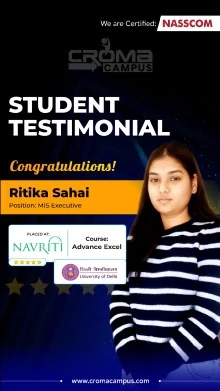
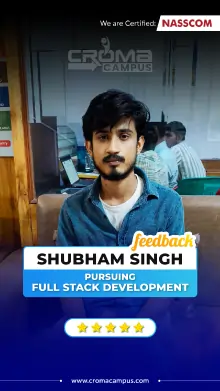
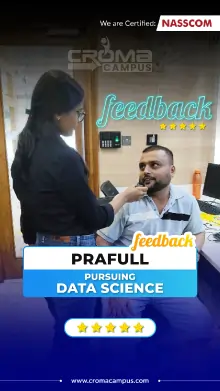
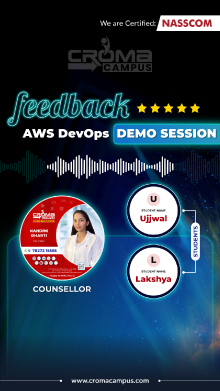
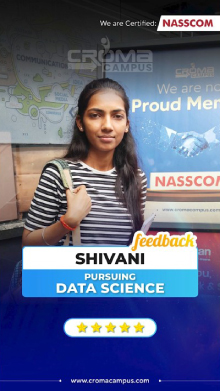
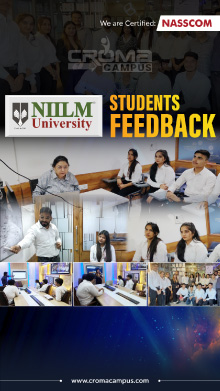
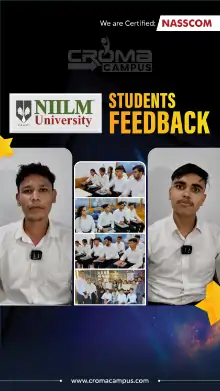
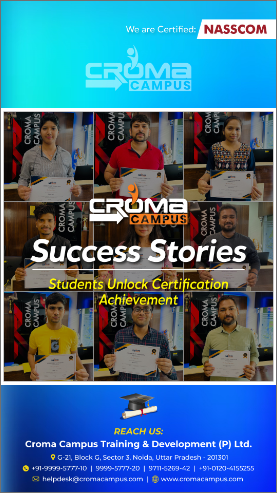
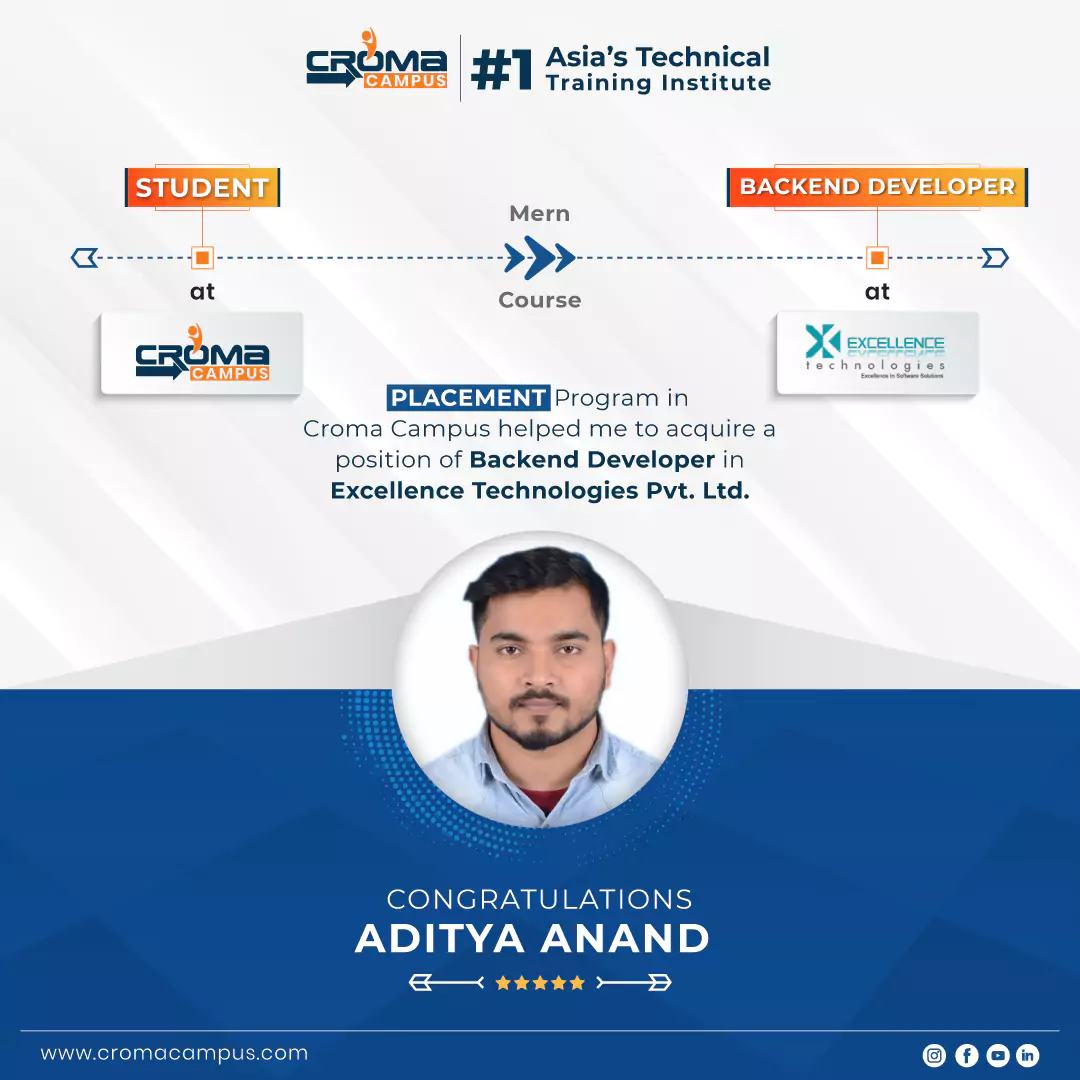
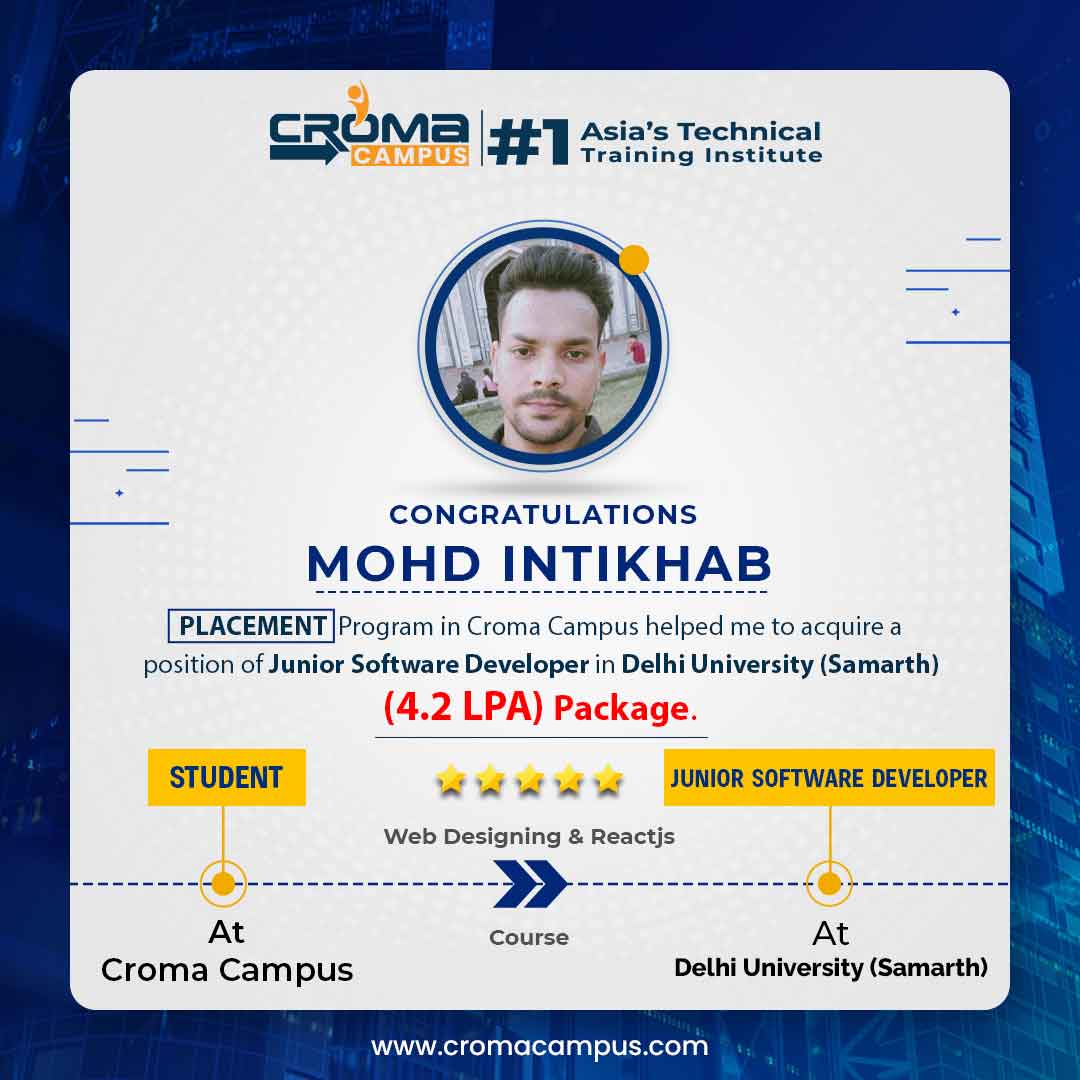
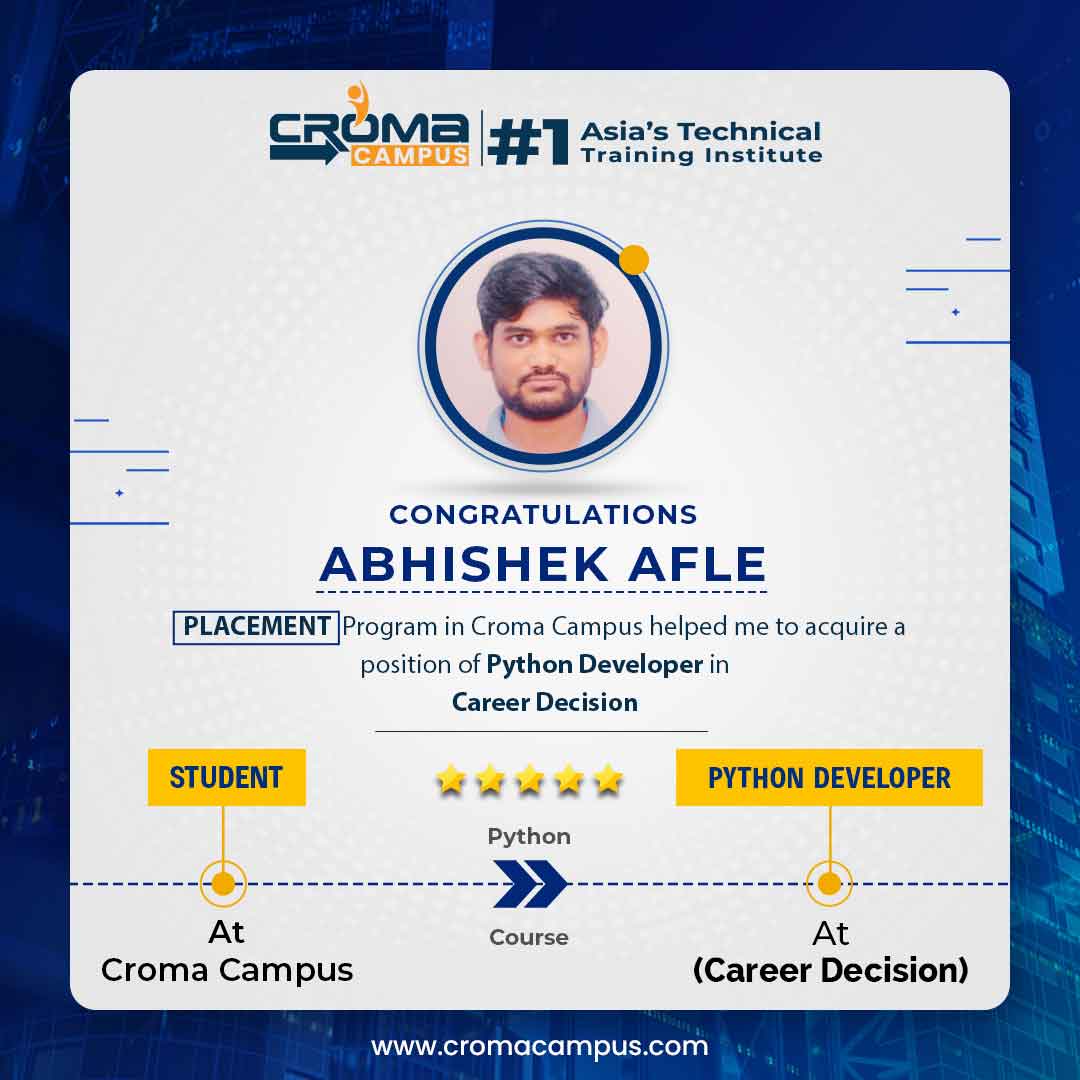
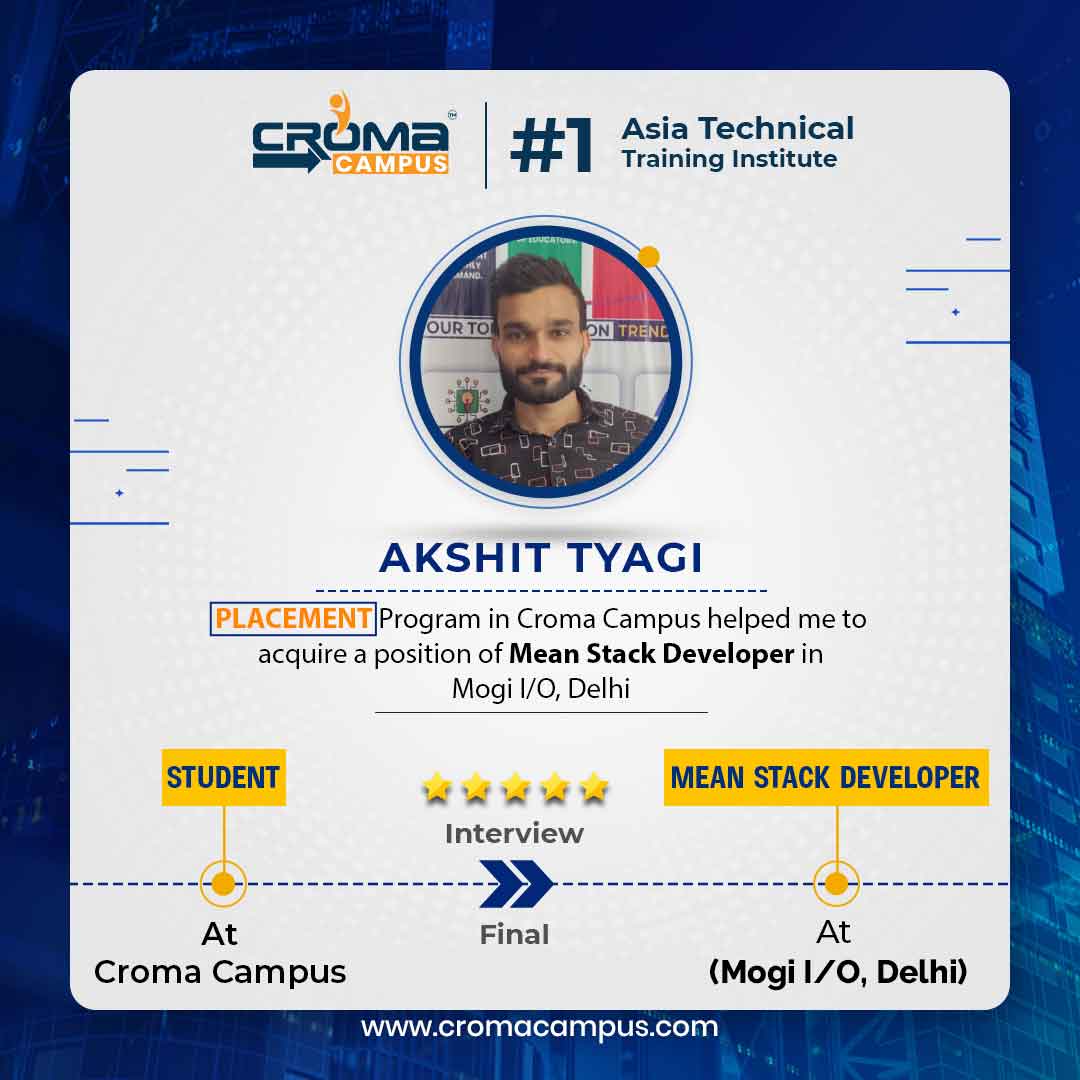
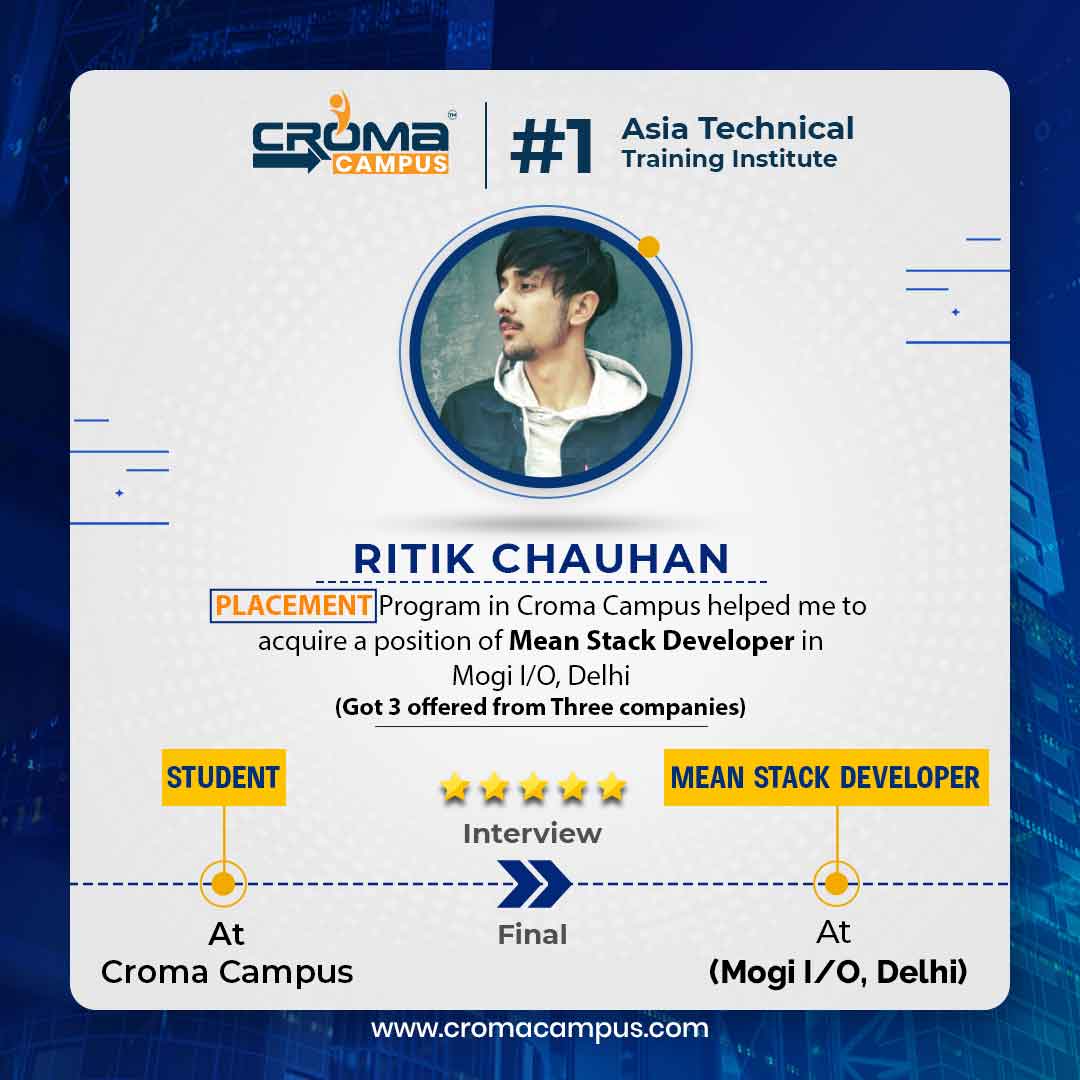
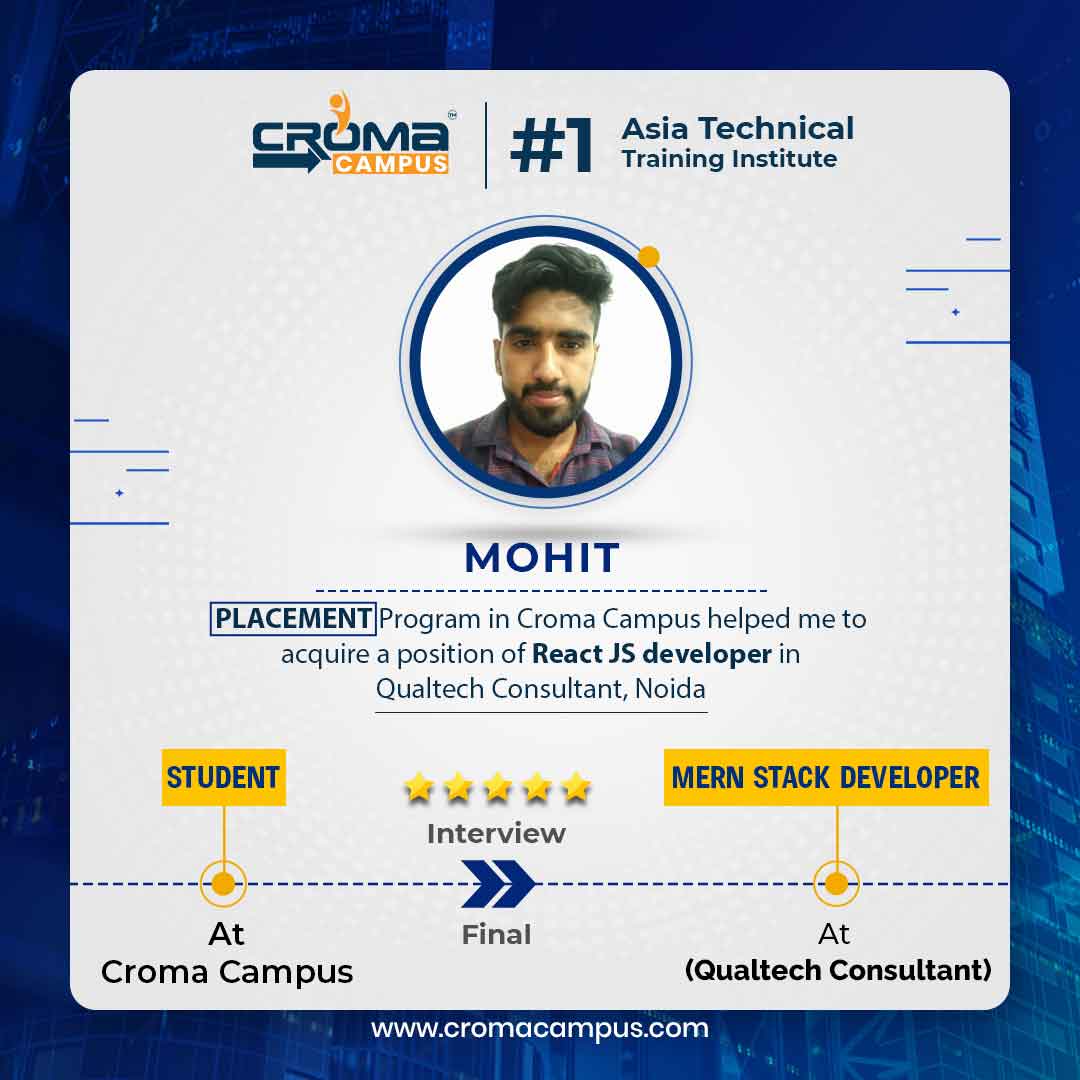
Stories
success
inspiration
career upgrade
career upgrade
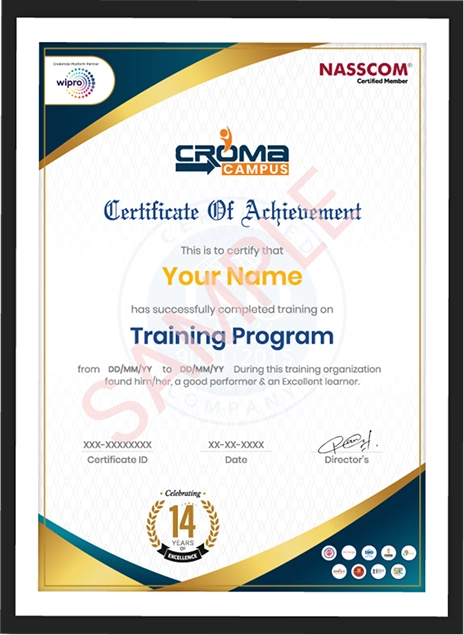
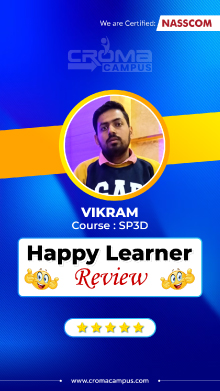
You will get certificate after
completion of program
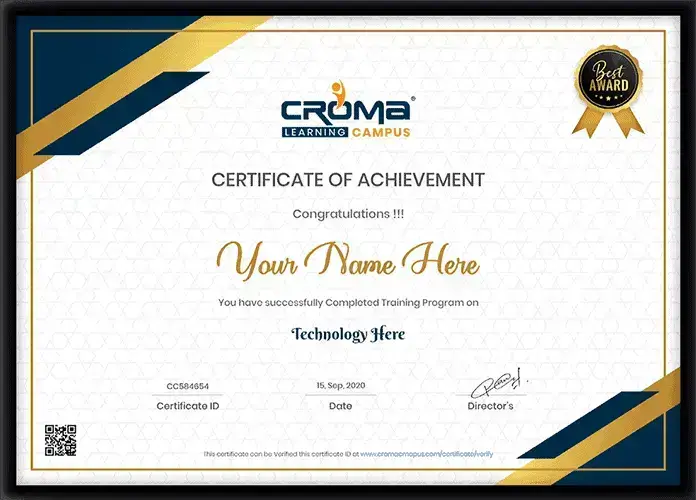
You will get certificate after
completion of program
You will get certificate after
completion of program
in Collaboration with
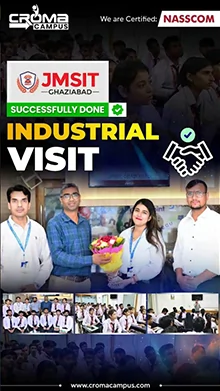
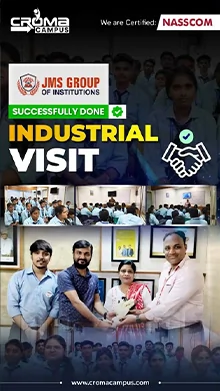
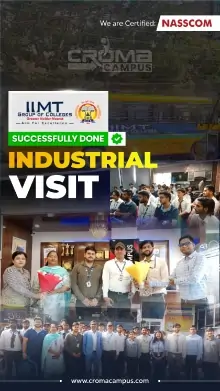
Empowering Learning Through Real Experiences and Innovation
we train you to get hired.
Phone (For Voice Call):
+91-828 706 0032WhatsApp (For Call & Chat):
+91-828 706 0032Get a peek through the entire curriculum designed that ensures Placement Guidance
Course Design By
Course Offered By
Ready to streamline Your Process? Submit Your batch request today!
A skilled Graphic Designer earns around Rs. 8 Lakhs annually.
Here, you will receive sessions from highly qualified trainers holding numerous years of experience.
Here, you will surely receive extra classes to clarify your doubts.

Highest Salary Offered
Average Salary Hike
Placed in MNC’s
Year’s in Training

fast-tracked into managerial careers.
Get inspired by their progress in the
Career Growth Report.
FOR QUERIES, FEEDBACK OR ASSISTANCE
Best of support with us
Share some of your details and we will be in touch with you for demo details, and know about Batches Available with us!
By registering here, I agree to Croma Campus Terms & Conditions and Privacy Policy


For Voice Call
+91-971 152 6942For Whatsapp Call & Chat
+91-9711526942Share some of your details and we will be in touch with you for demo details, and know about Batches Available with us!


.webp)


.webp)


.webp)
.webp)

.png)


