


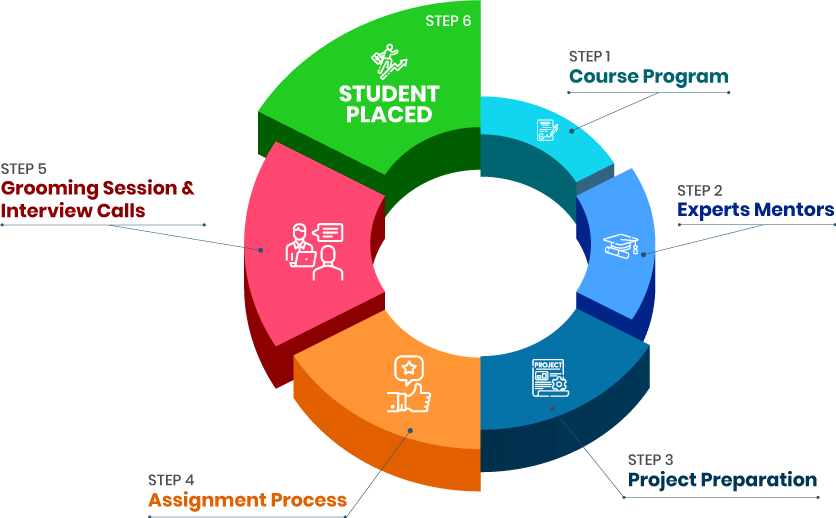
 Career Transition
 Career Gap
 Placement Activities
 Placement Drives
 Latest Hiring


.webp)


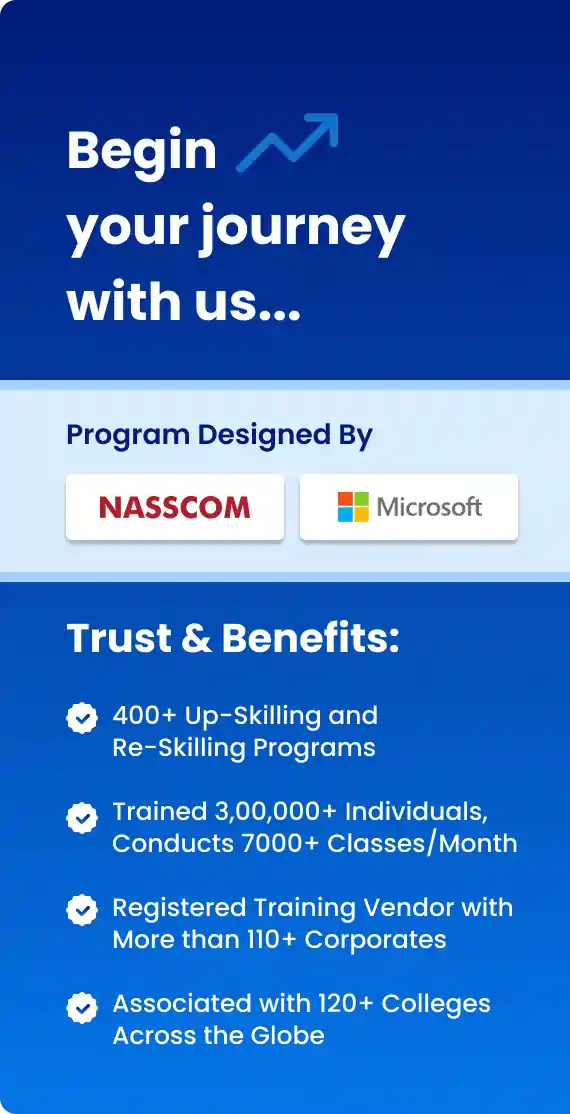
Course Design By
Nasscom & Wipro
Elevate your career with UI UX Certification. Master the skills needed to craft exceptional user experiences.
In collaboration with

Online/Offline
Format
LMS
Life Time Access
we train you to get hired.


Understanding UI/UX Fundamentals: Grasp the core definition and principles of UI/UX design to create intentional and user-centric designs.
Comprehensive Design Lifecycle: Gain a thorough understanding of the entire design lifecycle, including methodologies, purposes, and tools employed throughout the process.
Human-Computer Interaction (HCI) Basics: Learn the fundamentals of HCI and the psychological principles that influence user behavior, enabling you to design interfaces that resonate with users.
Industry-Standard Technologies: Familiarize yourself with industry-standard UI/UX technologies and project deliverables, ensuring alignment with professional standards and expectations.
Effective Communication and Portfolio Development: Develop skills in articulating design decisions through task presentations and portfolio showcases, demonstrating your rationale behind design choices.
Promotion to Senior Roles: With advanced skills and expertise gained through the best UI UX certification, you may be eligible for promotions to senior UI/UX designer roles.
Specialization in Emerging Areas: UI/UX online certification can enable you to specialize in emerging areas such as mobile design, voice user interface (VUI) design, augmented reality (AR) and virtual reality (VR) design, and conversational UI design.
Transition to Leadership Roles: As you gain experience and demonstrate leadership qualities, you may transition into leadership roles such as UI/UX design manager, design director, or chief experience officer (CXO).
Entrepreneurship: Armed with the best UI UX certification, you may choose to venture into entrepreneurship by starting your design agency, consultancy, or product design startup.
Continuous Learning and Professional Development: Pursuing advanced certifications, attending workshops, and participating in conferences can further enhance your skills and expertise, opening up new career paths and opportunities.
UX Designer: Specializing in enhancing user experiences, UX designers conduct research, create wireframes, and develop prototypes. They collaborate across teams to ensure products are intuitive and meet user expectations.
UX/UI Designer: Merging user experience and visual design roles, UX/UI designers craft wireframes, prototypes, and visual designs. Their focus is on creating products that are both functional and visually appealing, harmonizing usability with aesthetics seamlessly.
Product Designer: Overseeing the entire product development journey, product designers lead teams to ensure products align with user needs, business objectives, and technical requirements, providing a holistic approach to design.
Visual Designer: Concentrating on product aesthetics, visual designers refine typography, color schemes, and layout. They closely collaborate with UX and UI designers to create visually captivating products that fulfill user needs and align with design principles.
UX Researcher: Gathering and analyzing user data, UX researchers extract insights to guide design decisions. Through methods like interviews and usability tests, they gain a deep understanding of user behavior and preferences, informing effective design strategies.
UI Designer: Focusing on product visuals, UI designers design layouts and typography, working closely with UX counterparts to ensure visual design coherence with user experience principles.
Content Designer/UX Writer: Crafting engaging content for digital products, content designers collaborate with UX designers to ensure content consistency with overall design and user needs.
UX Engineer: Implementing technical elements of UX design, UX engineers create prototypes and integrate design solutions, collaborating closely with designers to ensure products are both functional and visually appealing.
Technology/Software: Firms seek UI/UX designers for intuitive web and mobile app interfaces.
E-commerce: Companies prioritize seamless online shopping experiences, driving demand for UI/UX designers.
Finance: UI/UX designers enhance digital banking platforms for improved usability and accessibility.
Healthcare/Telemedicine: Designers play a crucial role in crafting user-friendly health-tracking apps and telemedicine platforms.
Entertainment/Media: UI/UX designers create immersive interfaces for streaming services and gaming companies.
Education Technology (EdTech): Online learning platforms rely on user-centric design, offering opportunities for UI/UX designers.
we train you to get hired.
By registering here, I agree to Croma Campus Terms & Conditions and Privacy Policy
+ More Lessons
Course Design By
Nasscom & Wipro
Course Offered By
Croma Campus
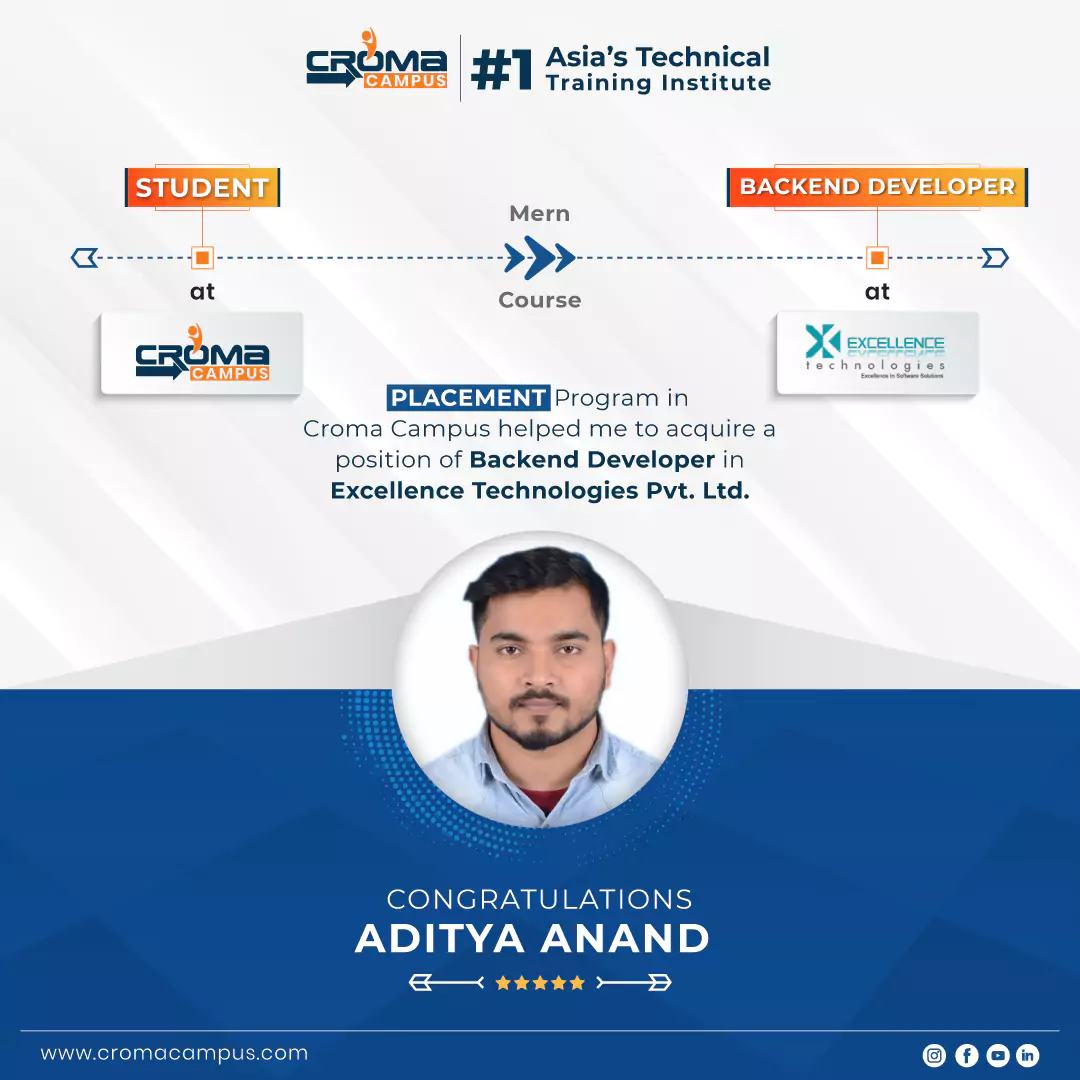
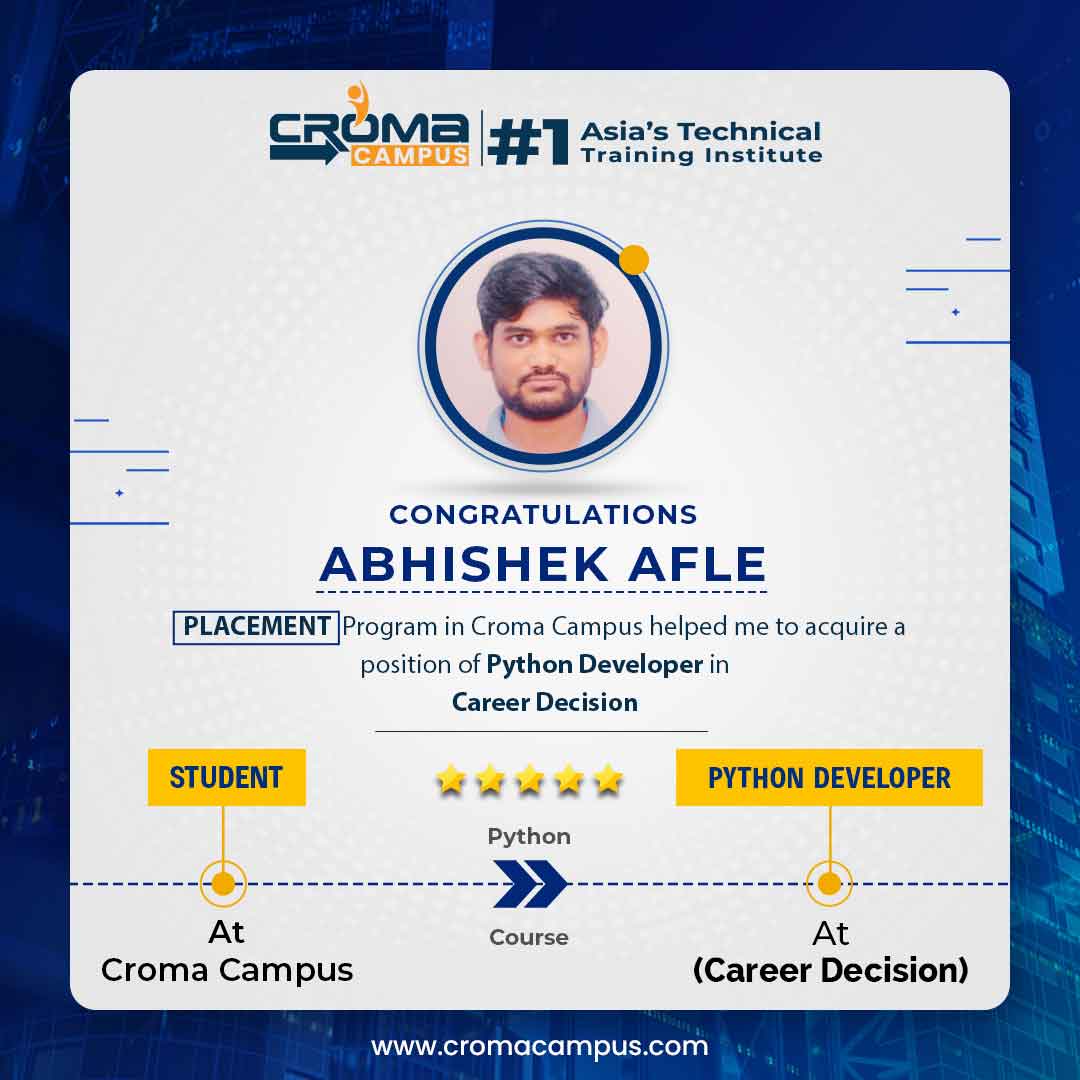
Stories
success
inspiration
career upgrade
career upgrade
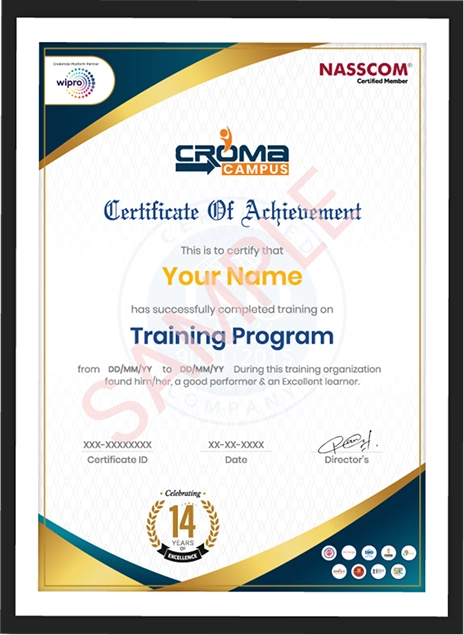
You will get certificate after
completion of program
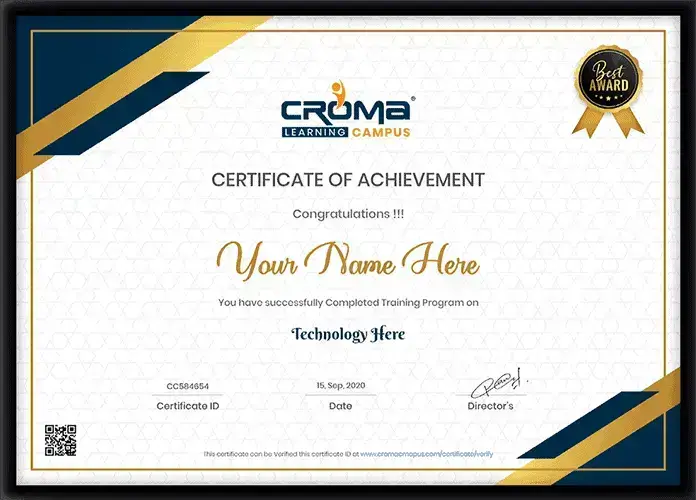
You will get certificate after
completion of program
You will get certificate after
completion of program
in Collaboration with
Empowering Learning Through Real Experiences and Innovation
we train you to get hired.
Phone (For Voice Call):
+91-971 152 6942WhatsApp (For Call & Chat):
+91-971 152 6942Get a peek through the entire curriculum designed that ensures Placement Guidance
Course Design By
Course Offered By
Ready to streamline Your Process? Submit Your batch request today!
For all of our UX Design courses, we will include pre-course reading so that you may become comfortable with the material before the class begins.
Yes. You may learn more about the payment options available at Croma Campus by visiting our payment plans website.
You'll be able to sign up for our next UX training session, as we only provide two to three each year.
Our course instructors will still be able to assign you into groups, where you will all virtually be able to participate in simultaneous hands-on activities and execute real-time interactions, as if you were in class offline, thanks to the specialist industry tools and software we employ.
UI/UX certification durations vary, typically spanning from a few weeks to several months.
UI/UX certification fees in India vary based on factors such as institution, duration, and included features.
UI/UX design offers high demand, creativity, competitive salaries, and impactful opportunities.
Various industries hire UI/UX designers, including technology, e-commerce, finance, healthcare, entertainment, and EdTech.
Advanced UI/UX certification covers topics like advanced research, interaction design, prototyping, and leadership skills.
UI/UX online certification offers flexibility, accessibility, a comprehensive curriculum, practical projects, and industry recognition.

Highest Salary Offered
Average Salary Hike
Placed in MNC’s
Year’s in Training

fast-tracked into managerial careers.
Get inspired by their progress in the
Career Growth Report.
FOR QUERIES, FEEDBACK OR ASSISTANCE
Best of support with us
Share some of your details and we will be in touch with you for demo details, and know about Batches Available with us!
By registering here, I agree to Croma Campus Terms & Conditions and Privacy Policy


For Voice Call
+91-971 152 6942For Whatsapp Call & Chat
+91-9711526942Share some of your details and we will be in touch with you for demo details, and know about Batches Available with us!


.webp)


.webp)


.webp)
.webp)

.png)


