


 Career Transition
 Career Gap
 Placement Activities
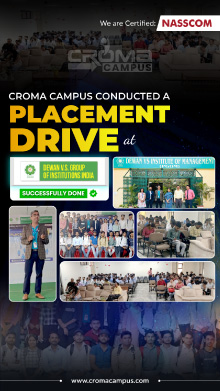
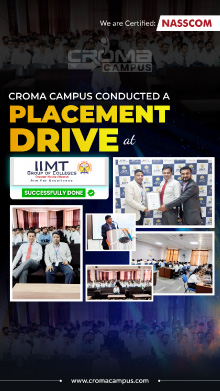
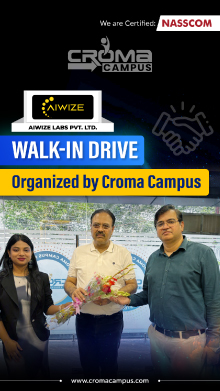
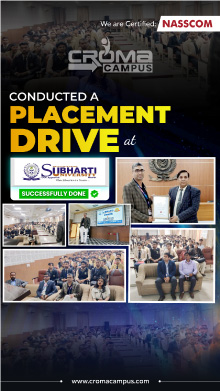
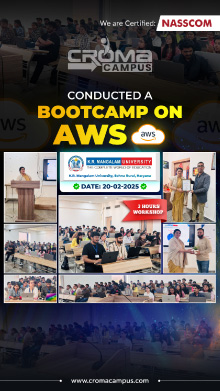
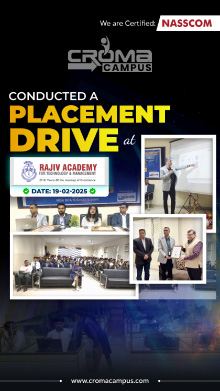
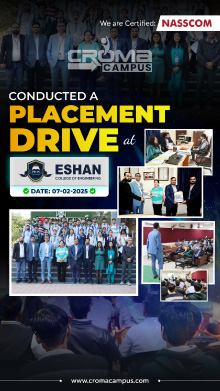
 Placement Drives
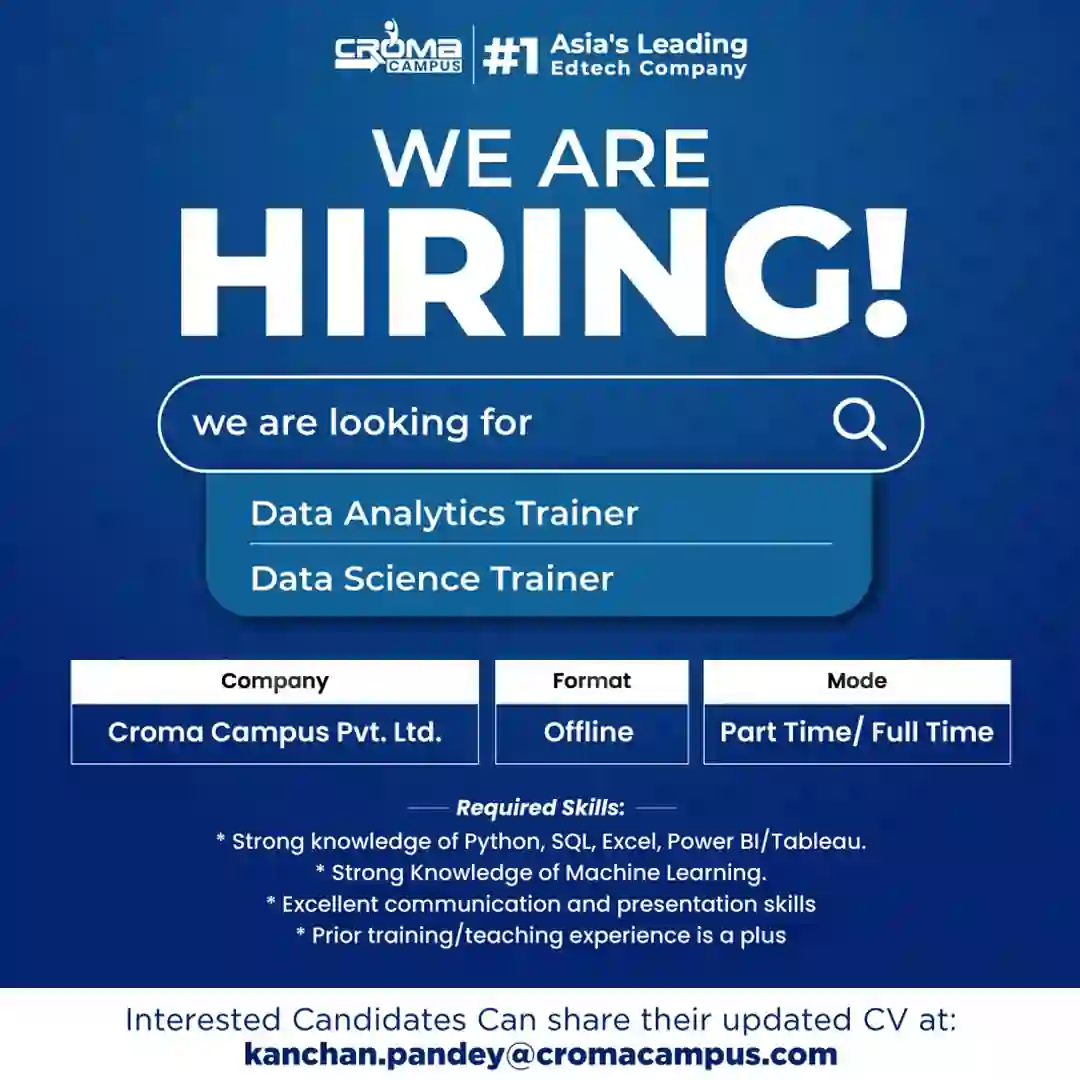
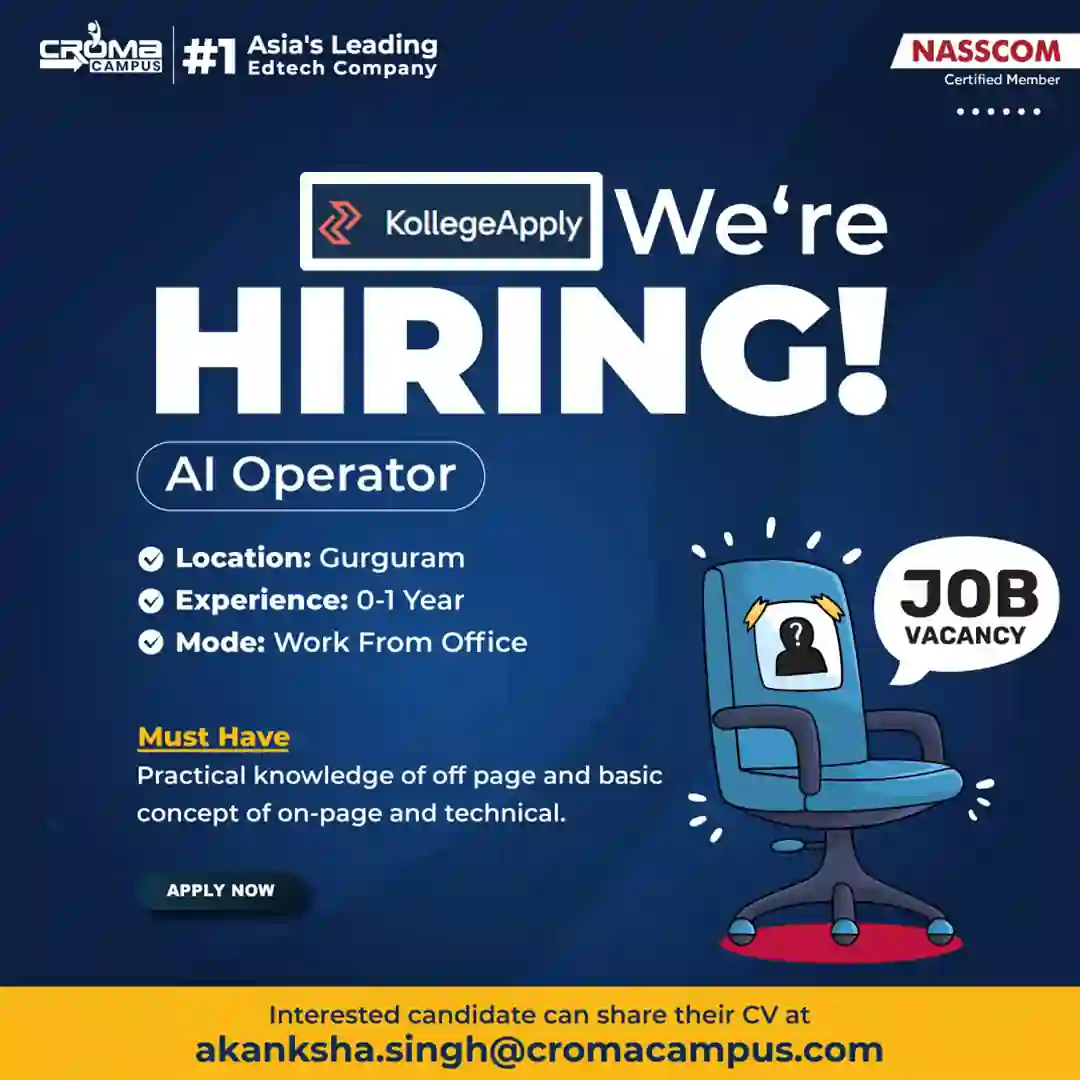
 Latest Hiring
.webp)
.webp)


.webp)


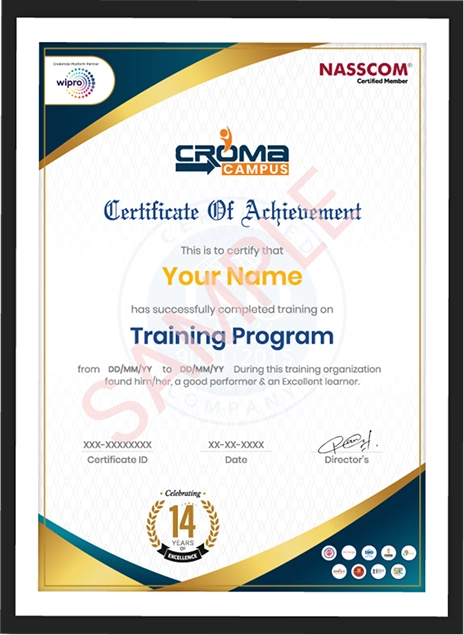
Course Design By
Nasscom & Wipro
Learn how to create 3D models and shapes with UGNX (NX-CAD CAM). Enroll today to learn from a UGNX expert.
In collaboration with

Online/Offline
Format
LMS
Life Time Access
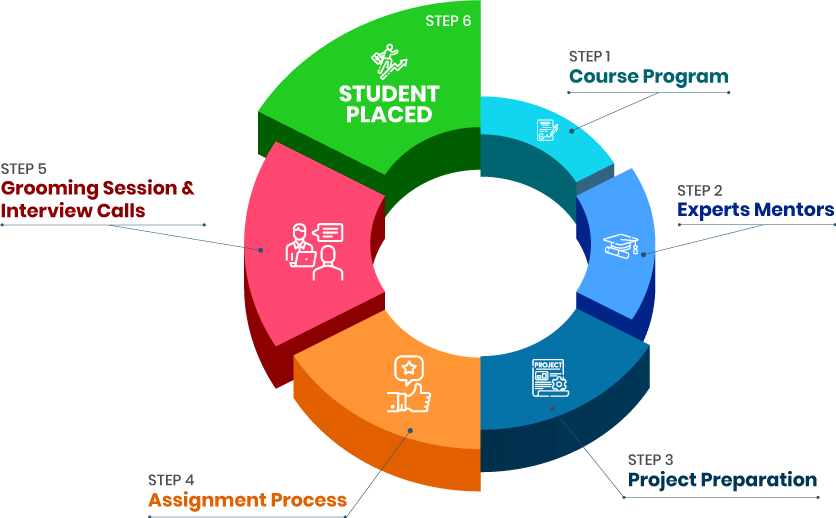
we train you to get hired.


The main motive of the UGNX training course is to help you learn the required skills in the program and to learn advanced and basic UGNX concepts.
Moreover, you can learn about gateway applications, defining vectors, positioning terminology, and more in UGNX.
Well, the UGNX placement course will help you learn the concepts like moving objects between layers, positioning components, creating sketches, Boolean operations, working with drawings, and viewing preferences.
With the leading UGNX training institute, you can learn about adding projected views, drawing monochrome displays, and working with drawings.
Learn skills about creating, editing, or managing simple or more complex designs.
The salary range is quite attractive and it will grow with your career. You can start to earn around 4 Lakhs as a fresher or even higher as compared to certified professionals.
If you do this certification then you will develop the required skills and can expect 40% extra on salary.
The salary range is widely influenced by location, titles, or experience.
For Example, if you are working in the UK or the USA then there are higher chances of your extra earning.
The salary also depends on your job responsibilities or roles managing at the workplace.
After completing the UGNX course, you will be eligible for applying for the global certification exam. You can make the profile stand out among your competitors.
You can make the profile stand out among your competitors. You can also prepare yourself with leading industries and top brands with a good package.
We have just given the idea but there are many benefits of joining a leading UGNX training for mastering UGNX skills thoroughly.
With the UGNX training in Delhi, you can master and learn the program. The program provides the ease of learning concepts step by step
The UGNX certification course will increase the skills to operate the software. Once you have adopted all the skills then it is quite helpful to increase overall skills.
Hence, it is a strong tool by which engineers can increase the power to manage various things in the company with ease.
By acquiring this specific accreditation, you will get a better higher salary structure.
Working in this field will help you develop complex features and components of hardware designs respectively.
You will also have to indulge in presenting proposals or roadmaps for complex products; advises and supervises small groups of less experienced engineers working together on common testing and design tasks.
You will also have to interprets complicated details needed to design numerous hardware features; leads a team of less experienced engineers working with spec sheets.
Following the end of your UGNX Designer course, you will be eligible for interviews and placement in a variety of sectors.
DesignTech Systems, Emug Engineering Services Pvt Ltd, Tooltech Global Engineering Pvt Ltd and other major design firms around the world are among the top employers.
We have a separate panel of pros who will assist you with creating a resume, preparing for interviews, and providing a UGNX placement course at a leading firm with a competitive salary package.
Here, our trainers will thoroughly assist you to select the right kind of accreditation as per your educational background and desired growth.
Furthermore, you will be explained different levels of accreditations also.
Post the completion of the course, our trainers will assist you to appear for the placement procedures.
Here, your whole perception will get cleared concerning SolidWorks, and you might end up imbibing some hidden information also.
we train you to get hired.
By registering here, I agree to Croma Campus Terms & Conditions and Privacy Policy
+ More Lessons
Course Design By
Nasscom & Wipro
Course Offered By
Croma Campus
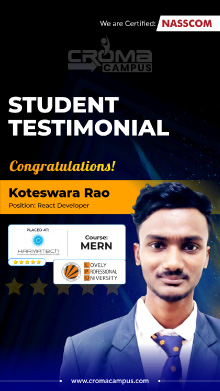
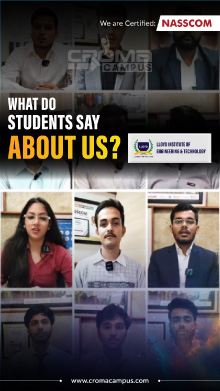
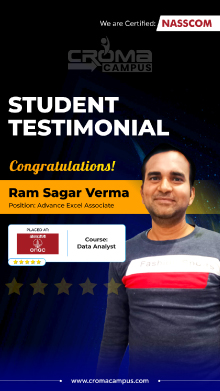
Stories
success
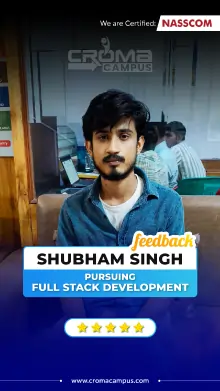
inspiration
career upgrade
career upgrade
career upgrade
career upgrade
You will get certificate after
completion of program
You will get certificate after
completion of program
You will get certificate after
completion of program
in Collaboration with
Empowering Learning Through Real Experiences and Innovation
we train you to get hired.
Phone (For Voice Call):
+91-971 152 6942WhatsApp (For Call & Chat):
+91-971 152 6942Get a peek through the entire curriculum designed that ensures Placement Guidance
Course Design By
Course Offered By
Ready to streamline Your Process? Submit Your batch request today!
Well, it is not a very lengthy course, and hardly takes up to 50-60 days to get into its functionalities.
It's not as difficult as it seems. Well, with correct guidance, you will be able to know each section.
Here, you will get the opportunity to obtain a qualitative sort of training from industry experts which will eventually help you to understand each part of this course in a much better way.
This course is not that costly, and it costs around Rs. 14000.
Well, a skilled UGNX Designer earns £21.52 per hour.

Highest Salary Offered
Average Salary Hike
Placed in MNC’s
Year’s in Training

fast-tracked into managerial careers.
Get inspired by their progress in the
Career Growth Report.
FOR QUERIES, FEEDBACK OR ASSISTANCE
Best of support with us
Share some of your details and we will be in touch with you for demo details, and know about Batches Available with us!
By registering here, I agree to Croma Campus Terms & Conditions and Privacy Policy


For Voice Call
+91-971 152 6942For Whatsapp Call & Chat
+91-9711526942Share some of your details and we will be in touch with you for demo details, and know about Batches Available with us!


.webp)


.webp)
.webp)

.png)


